Testing out my new Canon R7! Once Canon announced the new R7 APS-C camera back in the Spring, I knew this was finally the camera I wanted to make the jump to the new Canon RF mirrorless mount. And with a couple trips to Kananaskis and Banff/Jasper in August, it was a great opportunity to test out some of the new features - and how well my EF lenses would adapt with the RF control ring adapter.
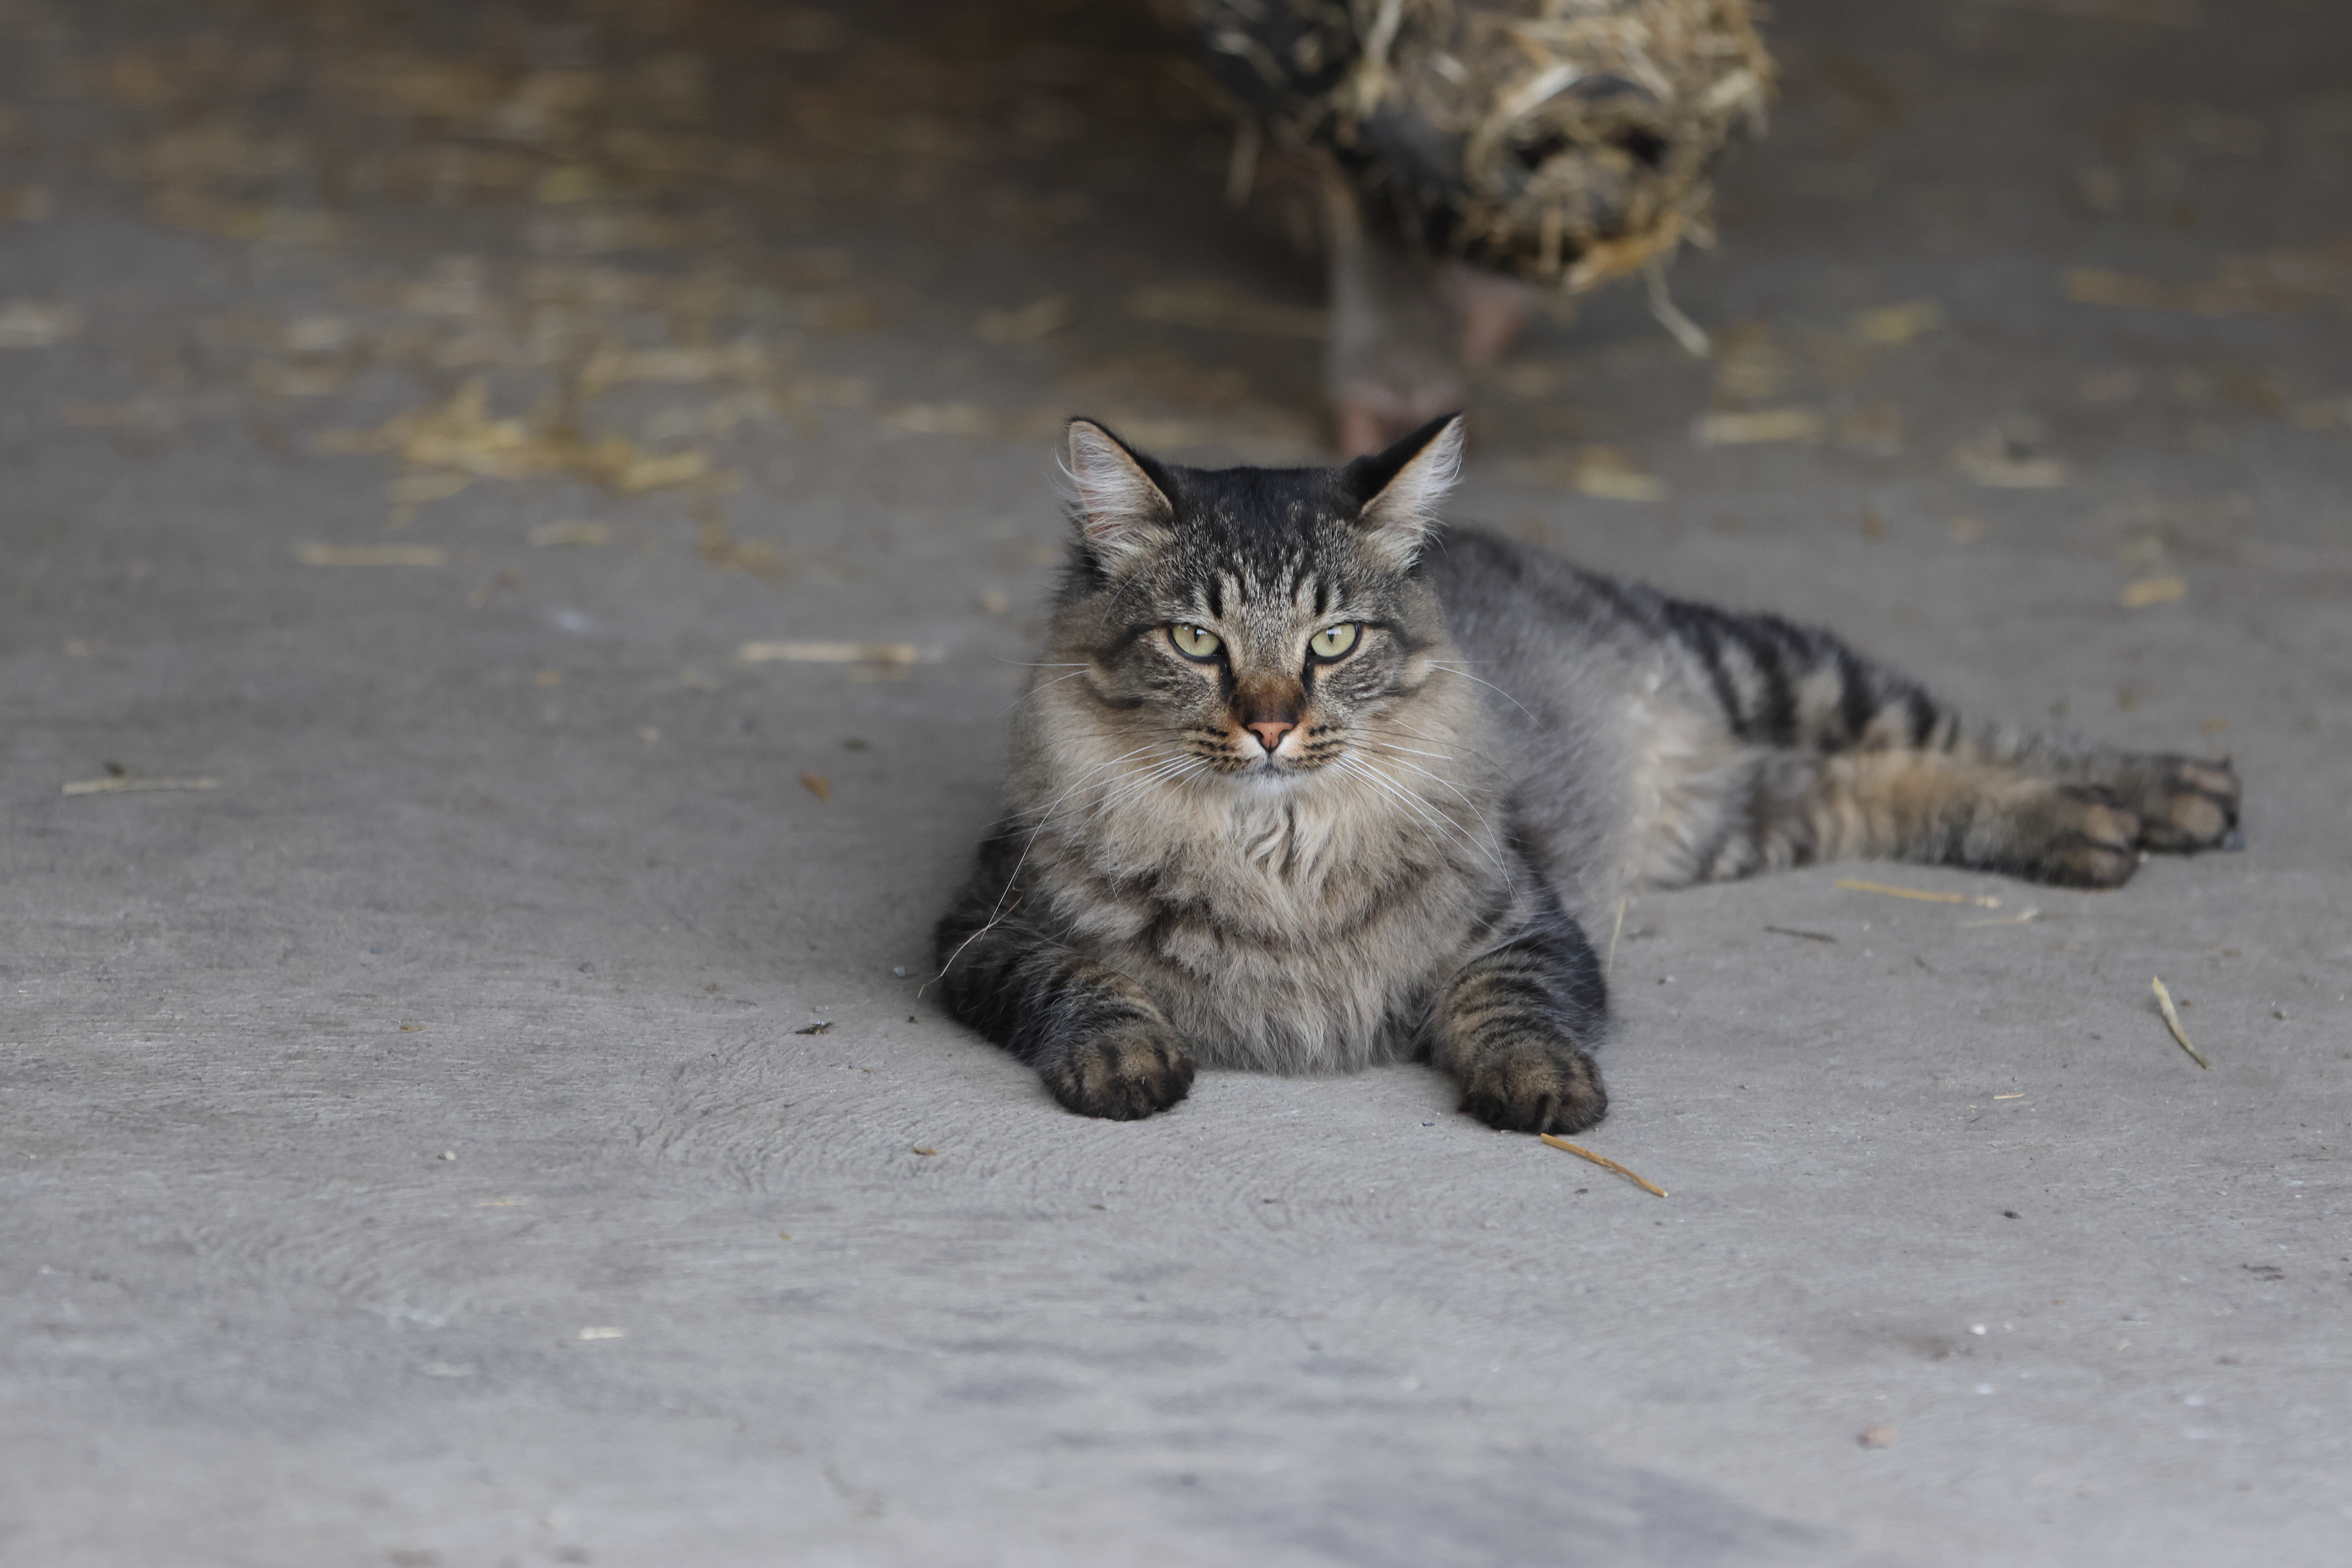
But, as always with a new camera body, set-up and test first! How far can I push the ISO, and how to set-up the improved AF for the different situations I usually photograph (landscape, portrait, and bird/wildlife/sports). So, to test the ISO, I went to the barn where it's fairly easy to get the ISO up, and test on some animals, among other objects.
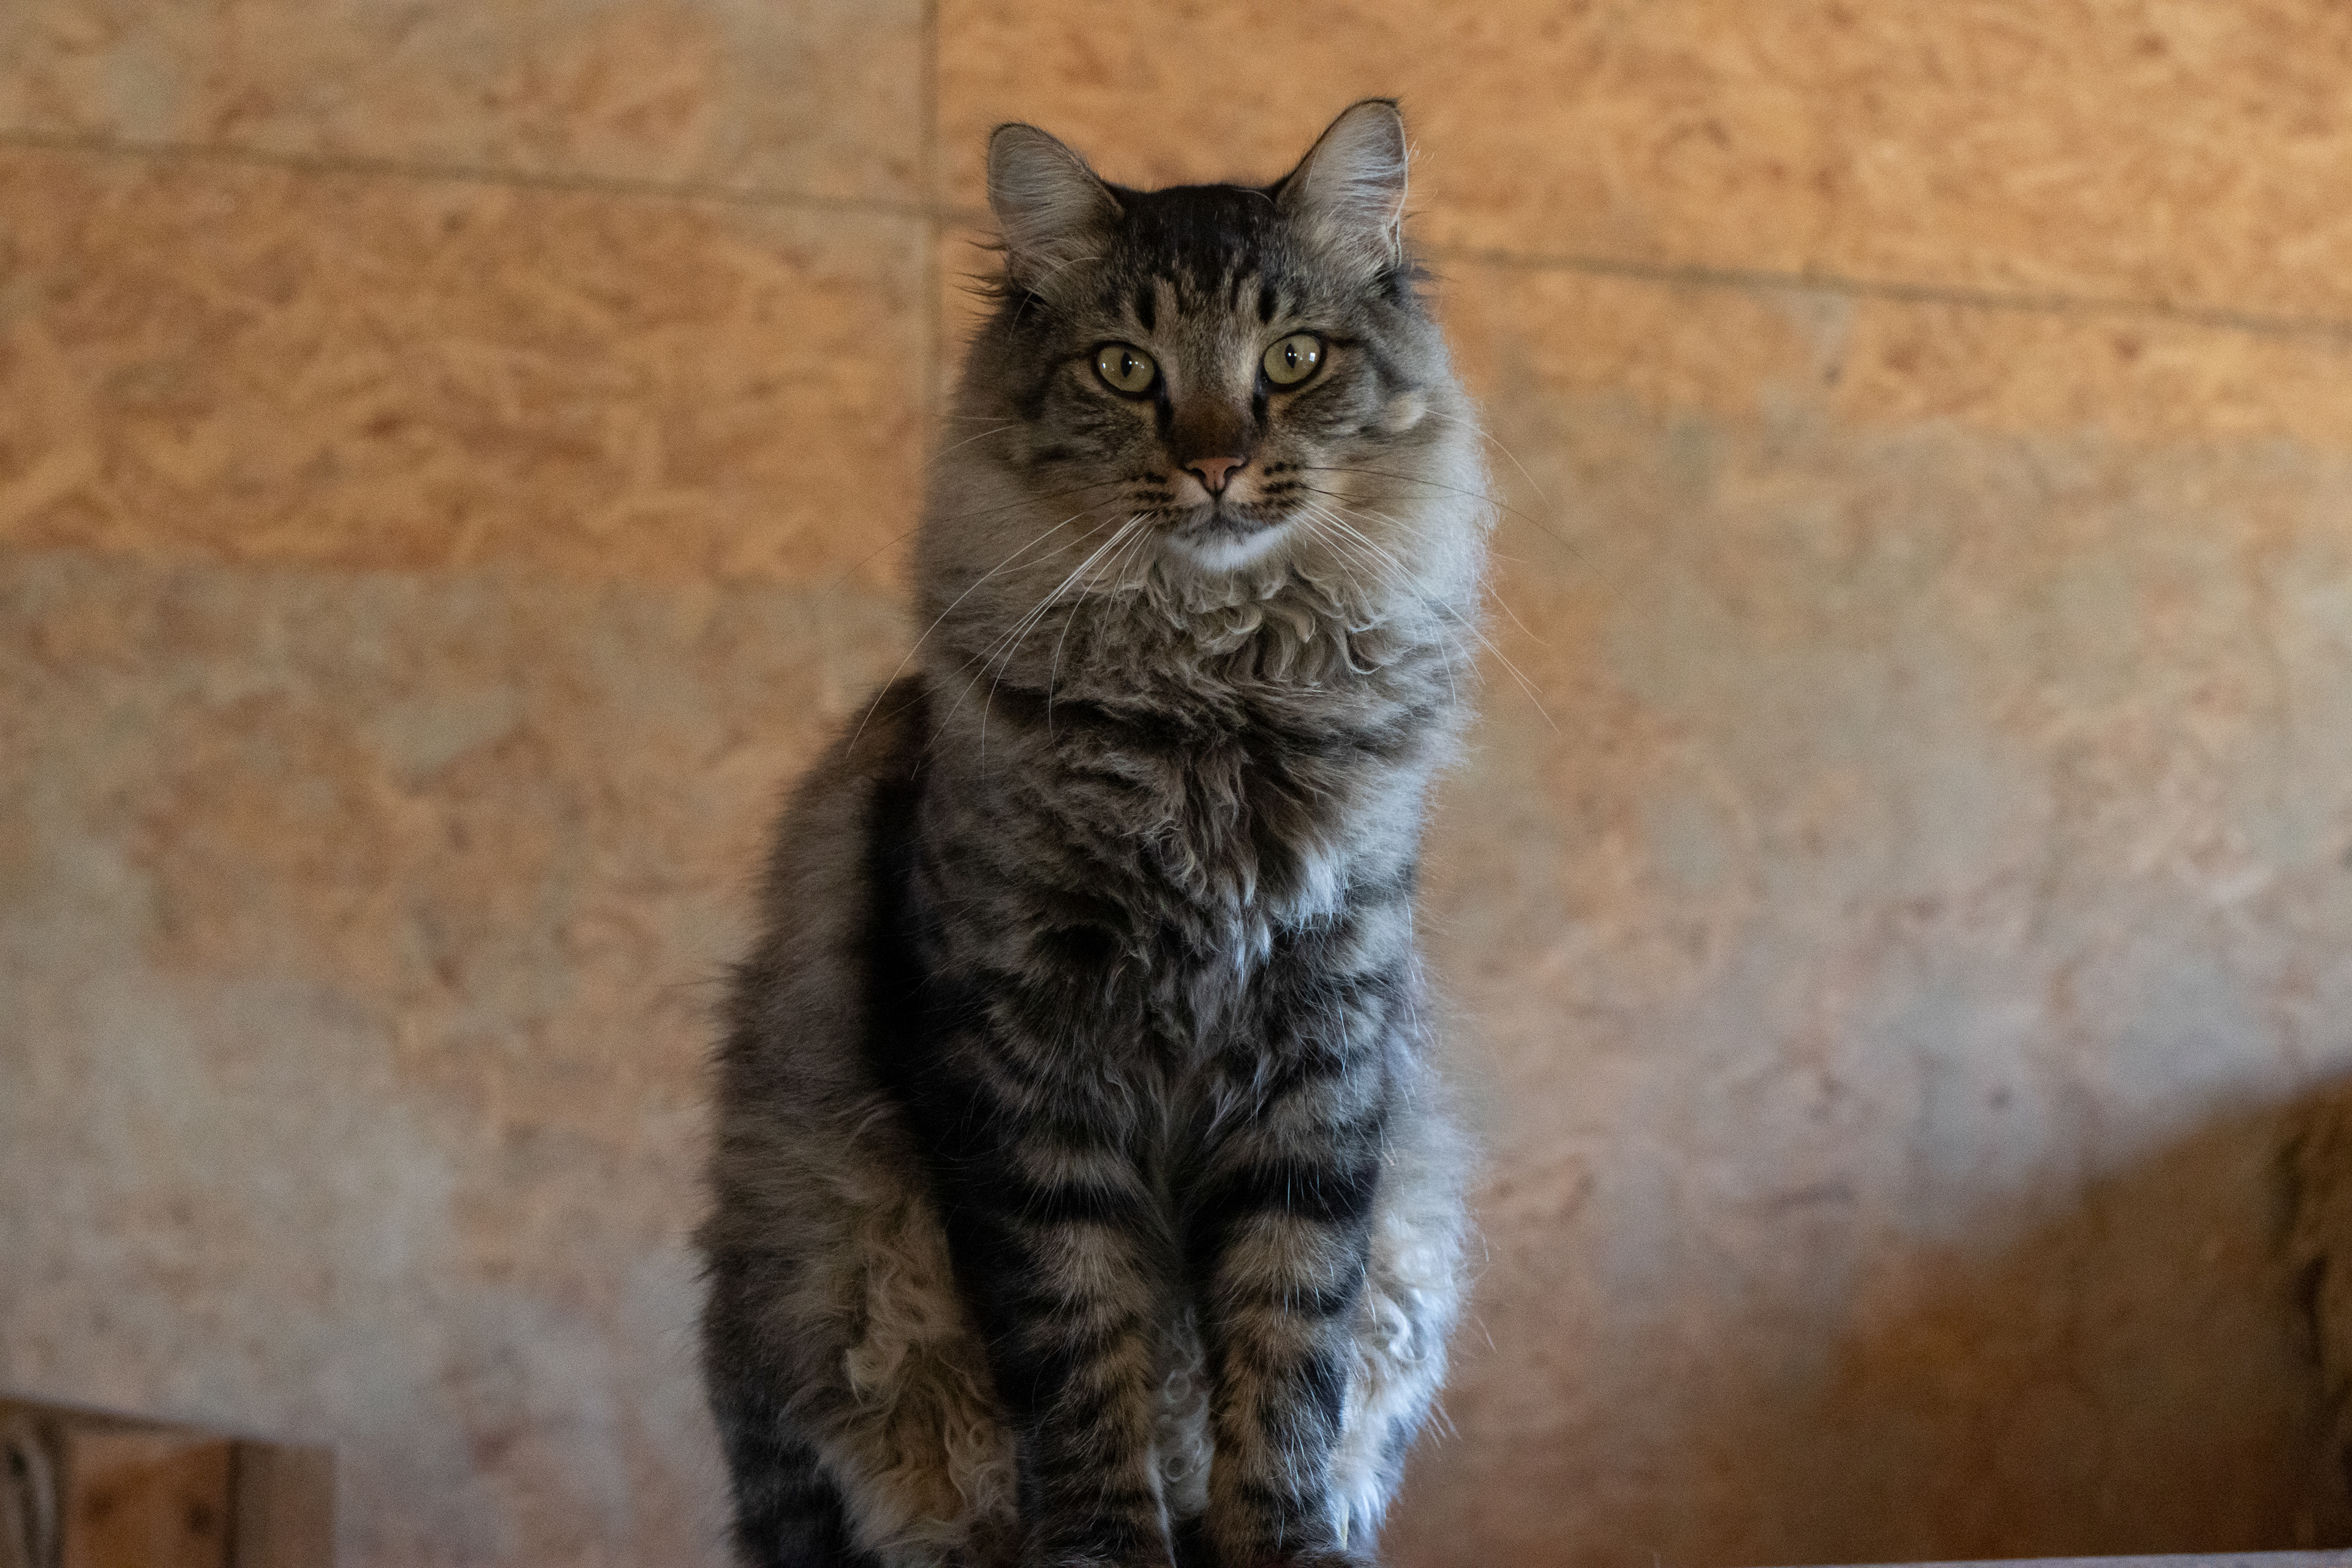
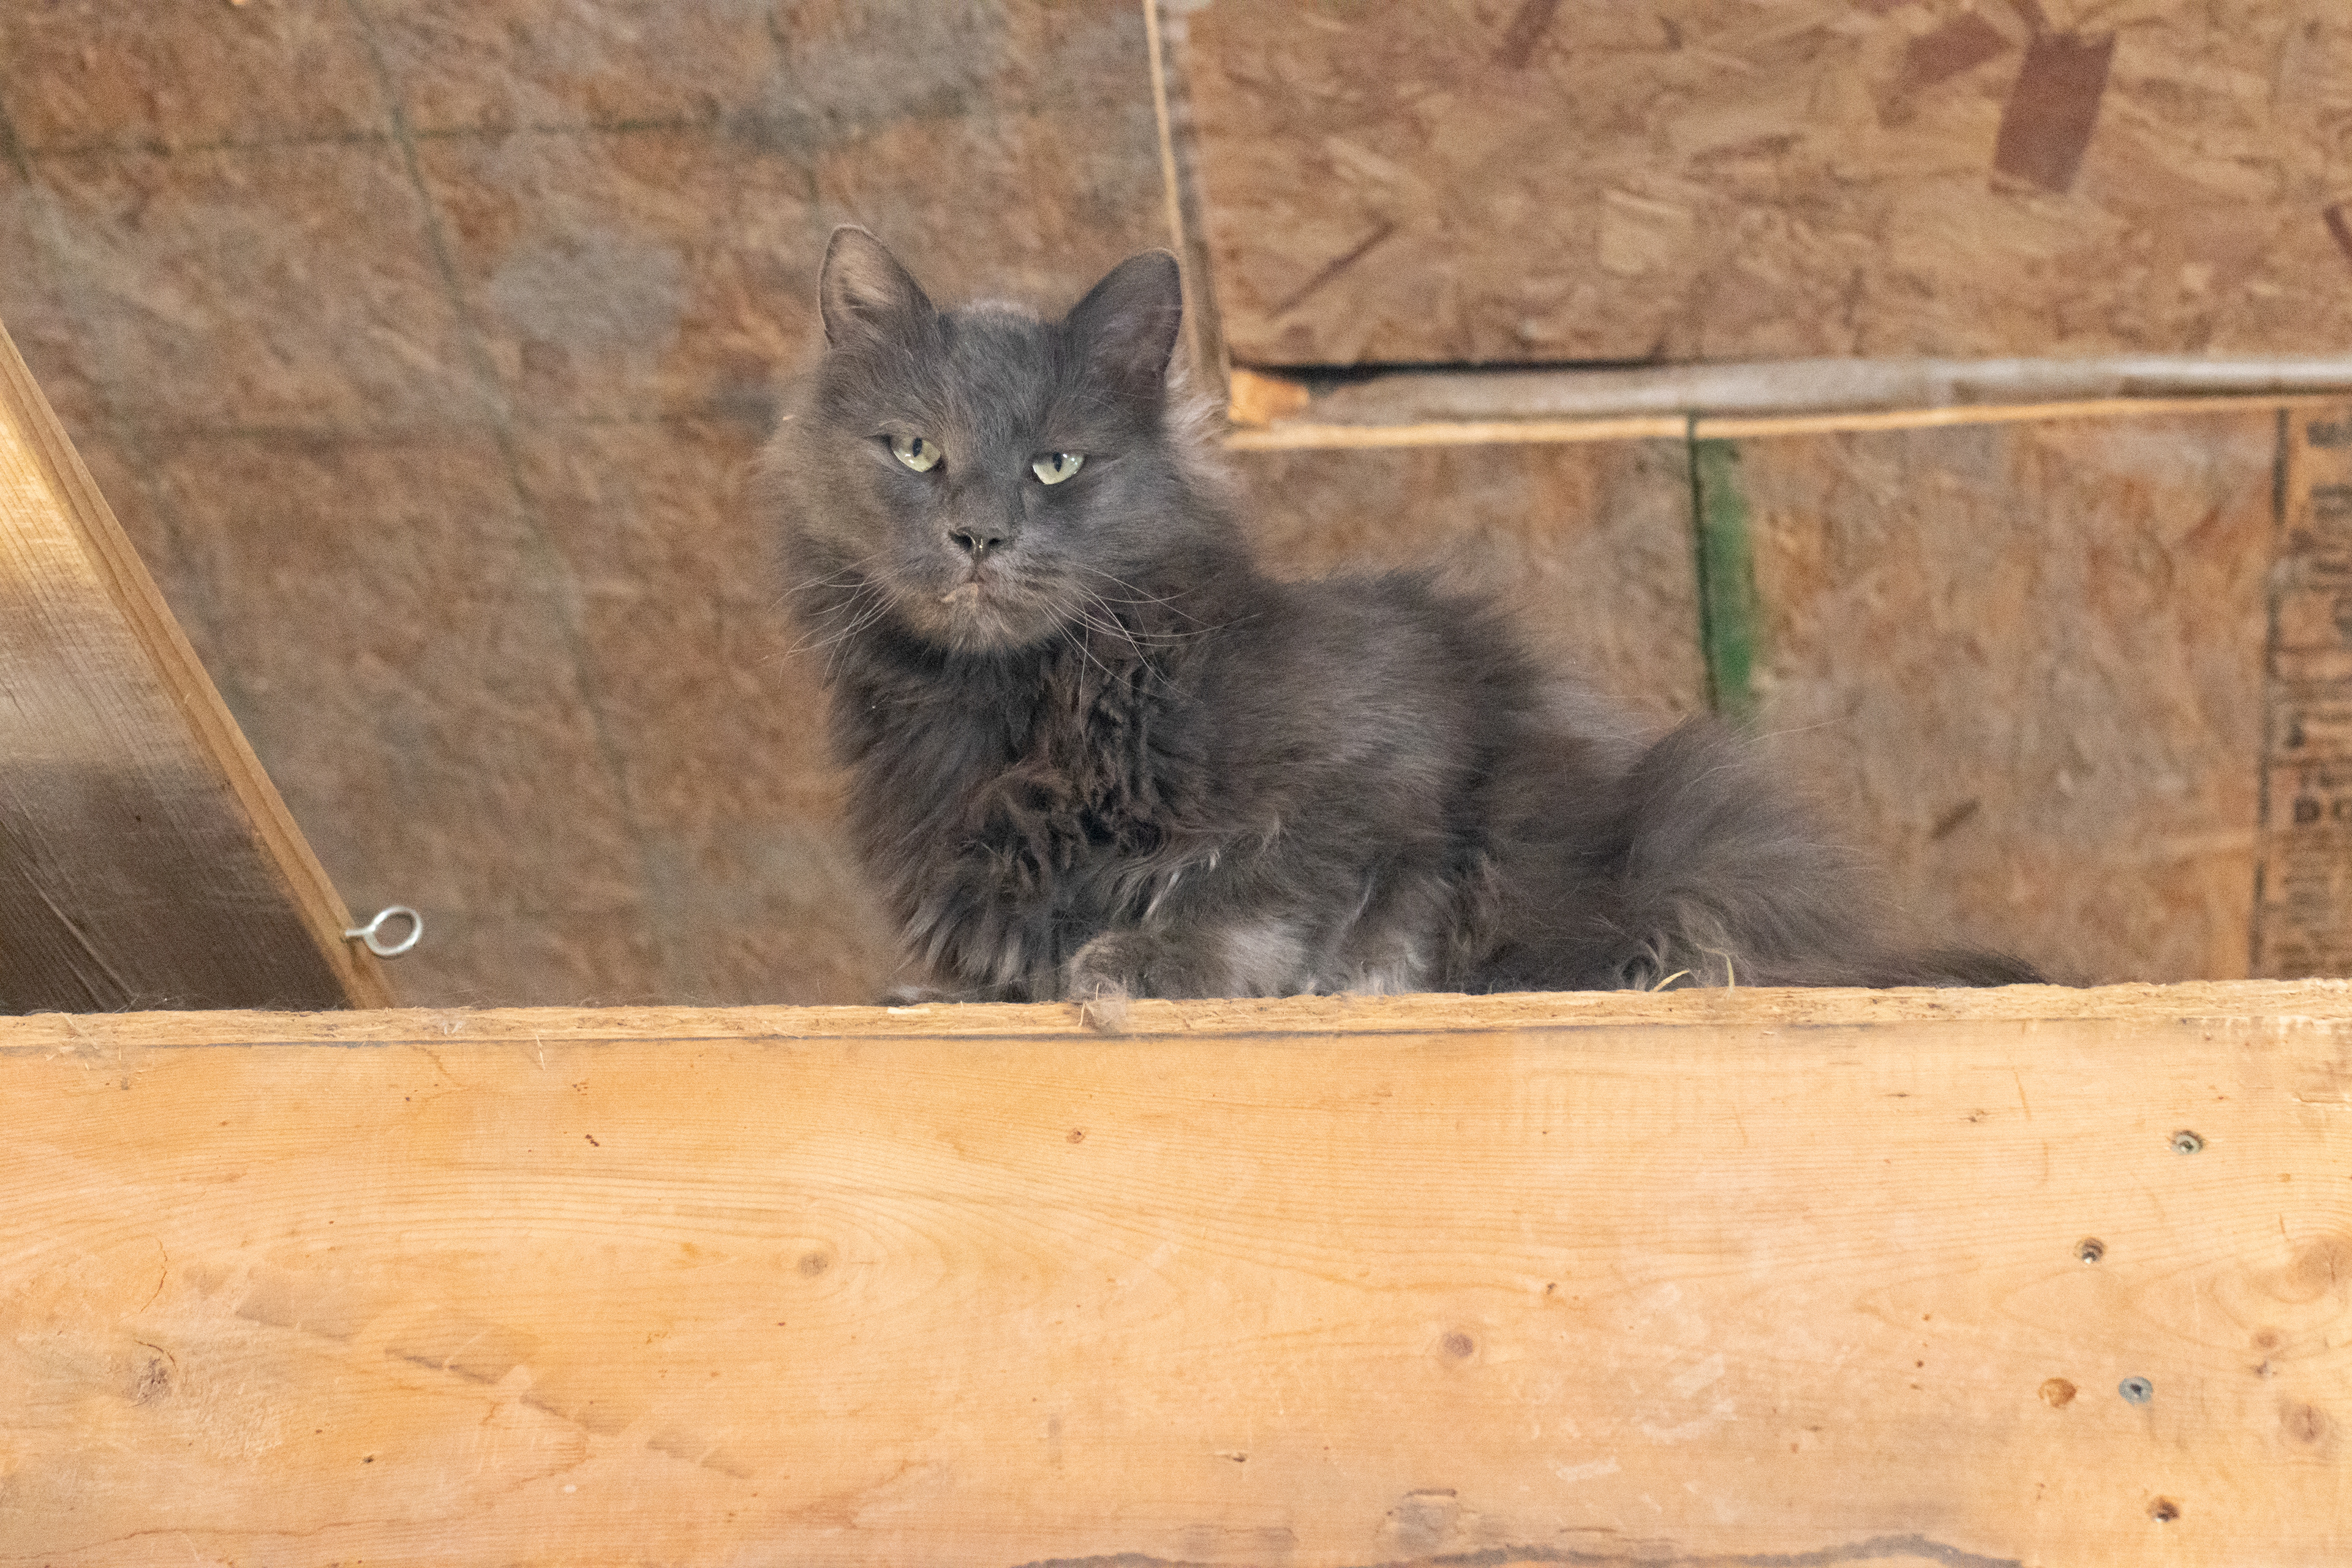
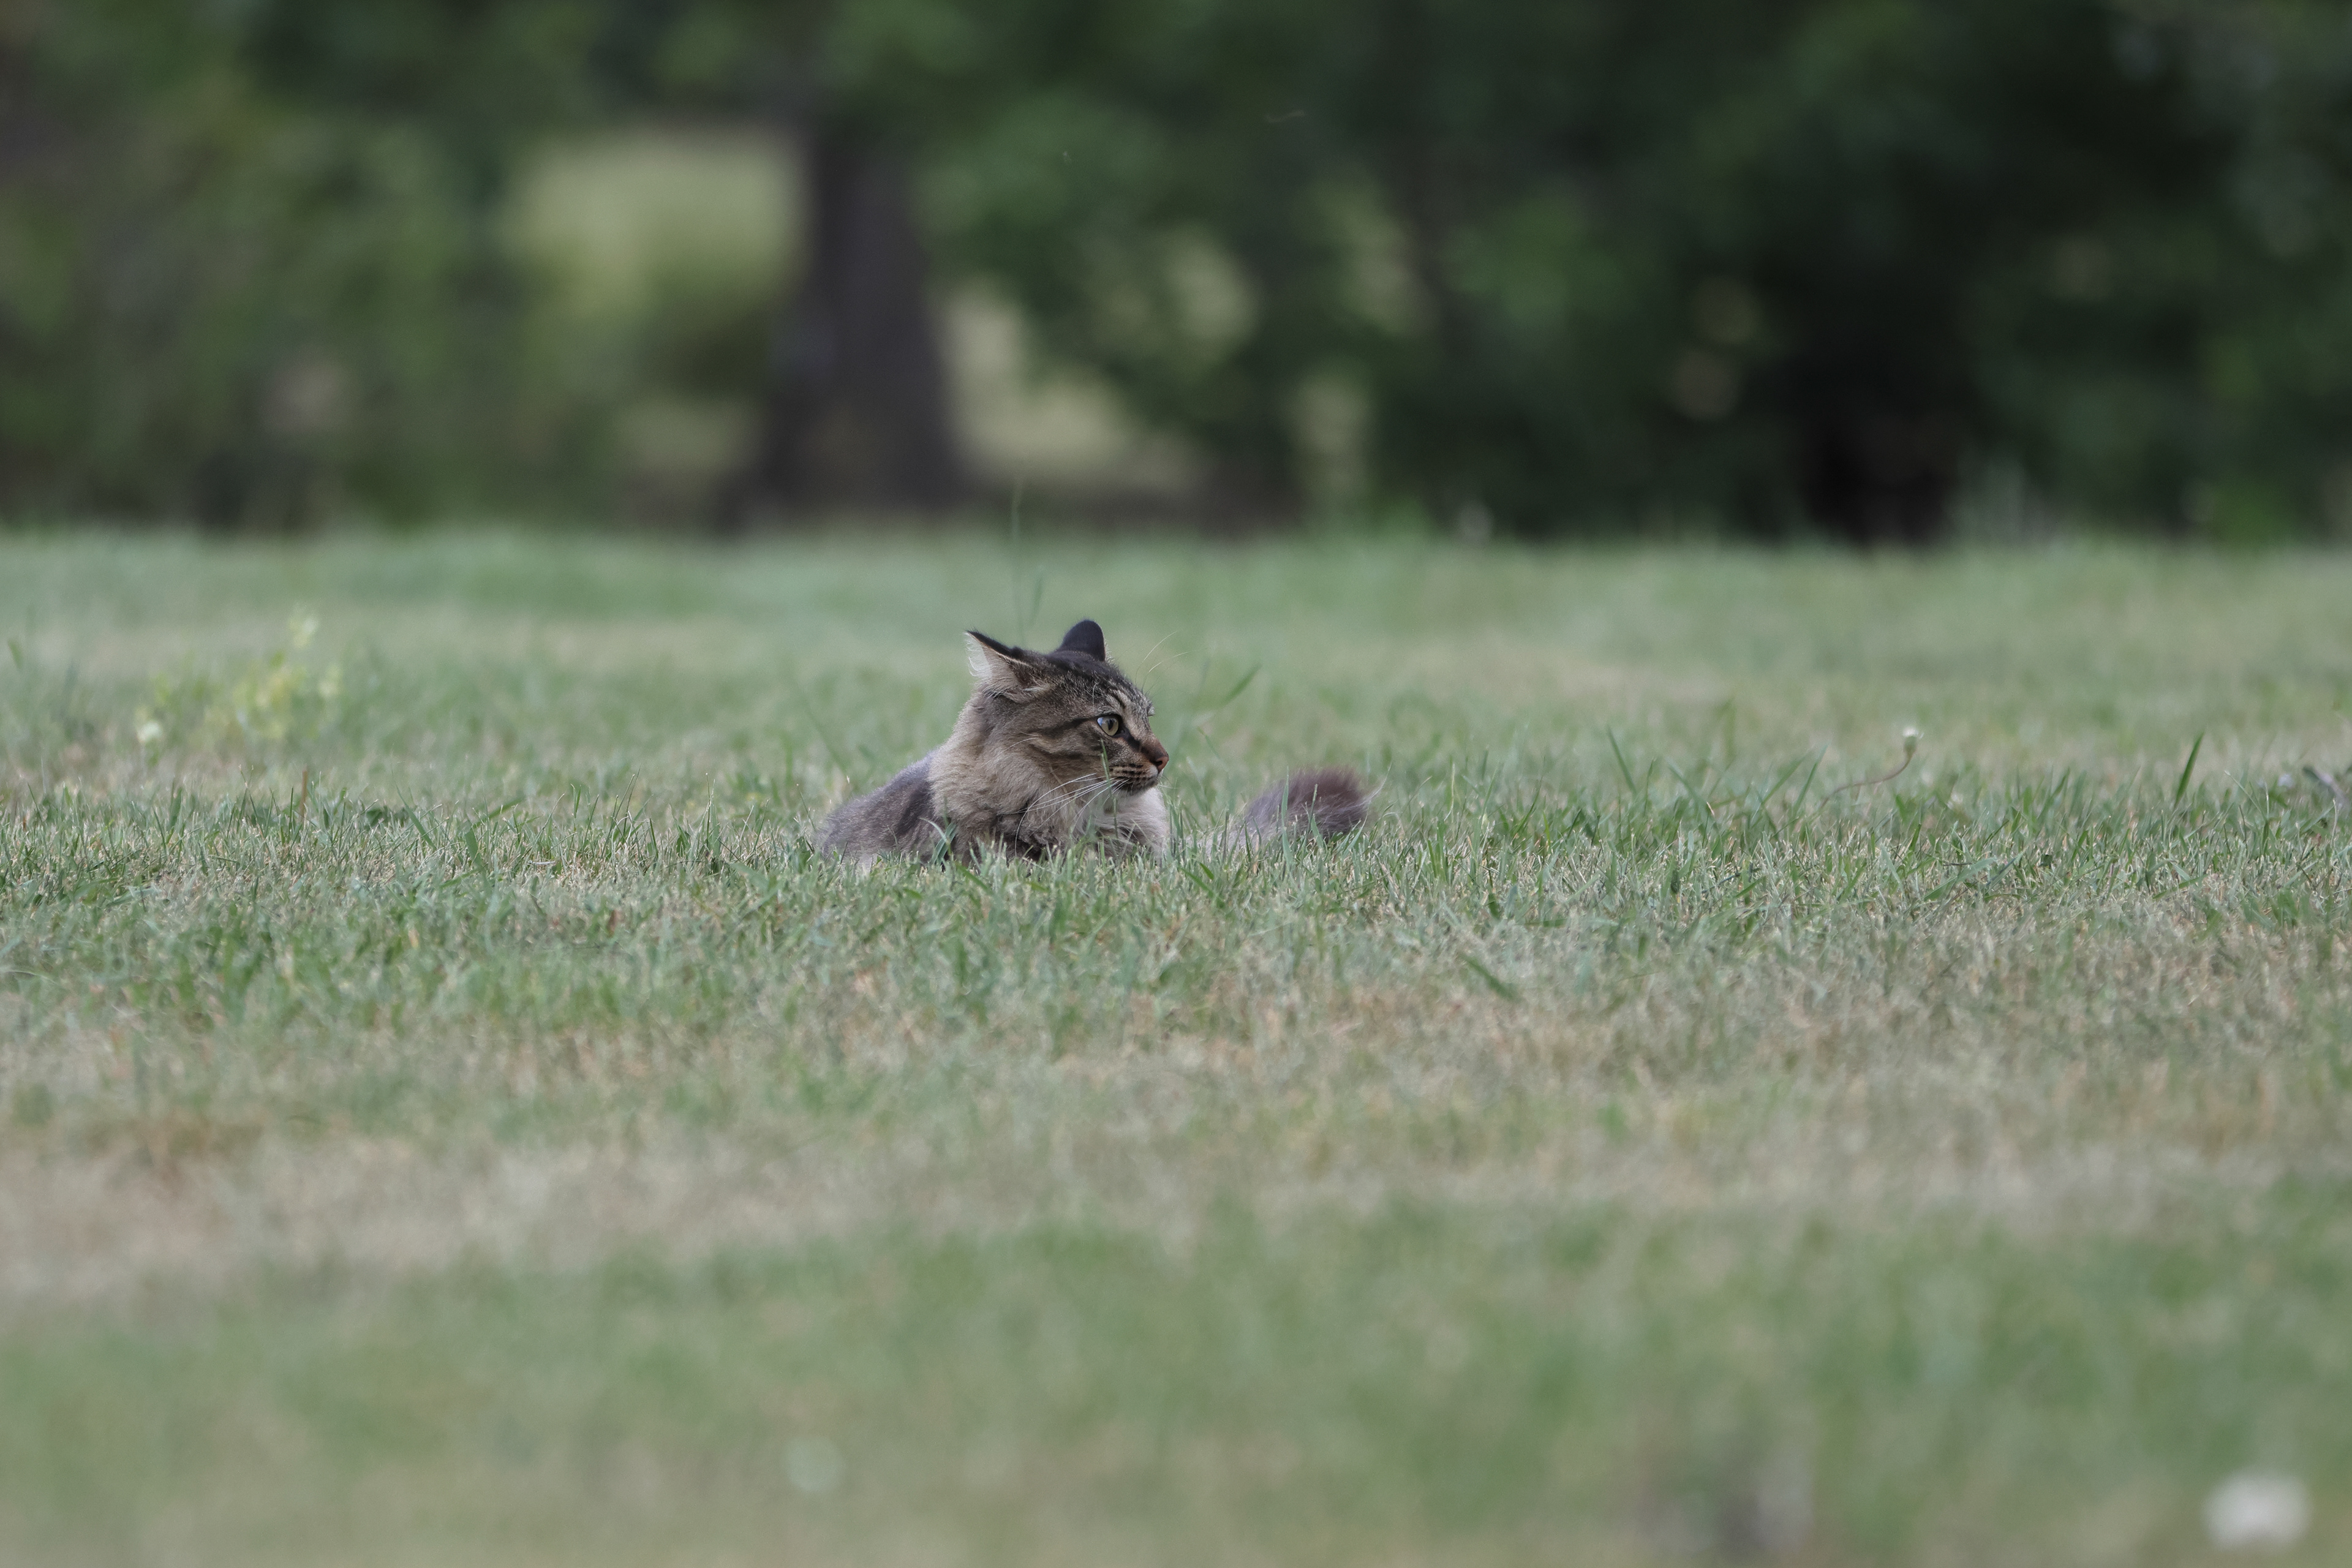
The first cat photo above was shot with my Tamron SP 45mm F/1.8 Di VC USD at F5.6 1/250 ISO6400. The second was also shot with my Tamron SP 45mm at F5.6 1/125 ISO12800 . Both photos were processed in DXO PureRaw 2. What was immediately noticeable after taking several photos of our animals between ISO5000 and ISO12800 is that the R7 handles the noise better than my old 80D - which is great news. I believe this difference isn't so much in the noise level at the different ISO, but the fact that 32mp just captures more detail, and once cleaned up still retains enough detail to allow ISO6400 and above to remain more than useful. I wouldn't have a problem now shooting ISO6400 and print up to 12x18 sizes easy. The ISO12800 of our cat (his name is "Bear") above, is also easily usable - I was actually very impressed with the detail retained! I tried processing the noise in various tools, and found Canon's own DPP to be good, and DXO PureRaw 2 to be really good. Unfortunately, my Topaz Denoise still (as of Sept, 2022) throws the colours off using the RAW .cr3 files, and converting to TIFF first seems like a painful extra step (and just didn't generate the same quality in the end anyway). I'll be using DPP or PureRaw 2 going forward. Lightroom also didn't handle the noise as well, and seemed to lose some colour details in certain areas - something I also noticed from various lab tests posted on different internet sites.
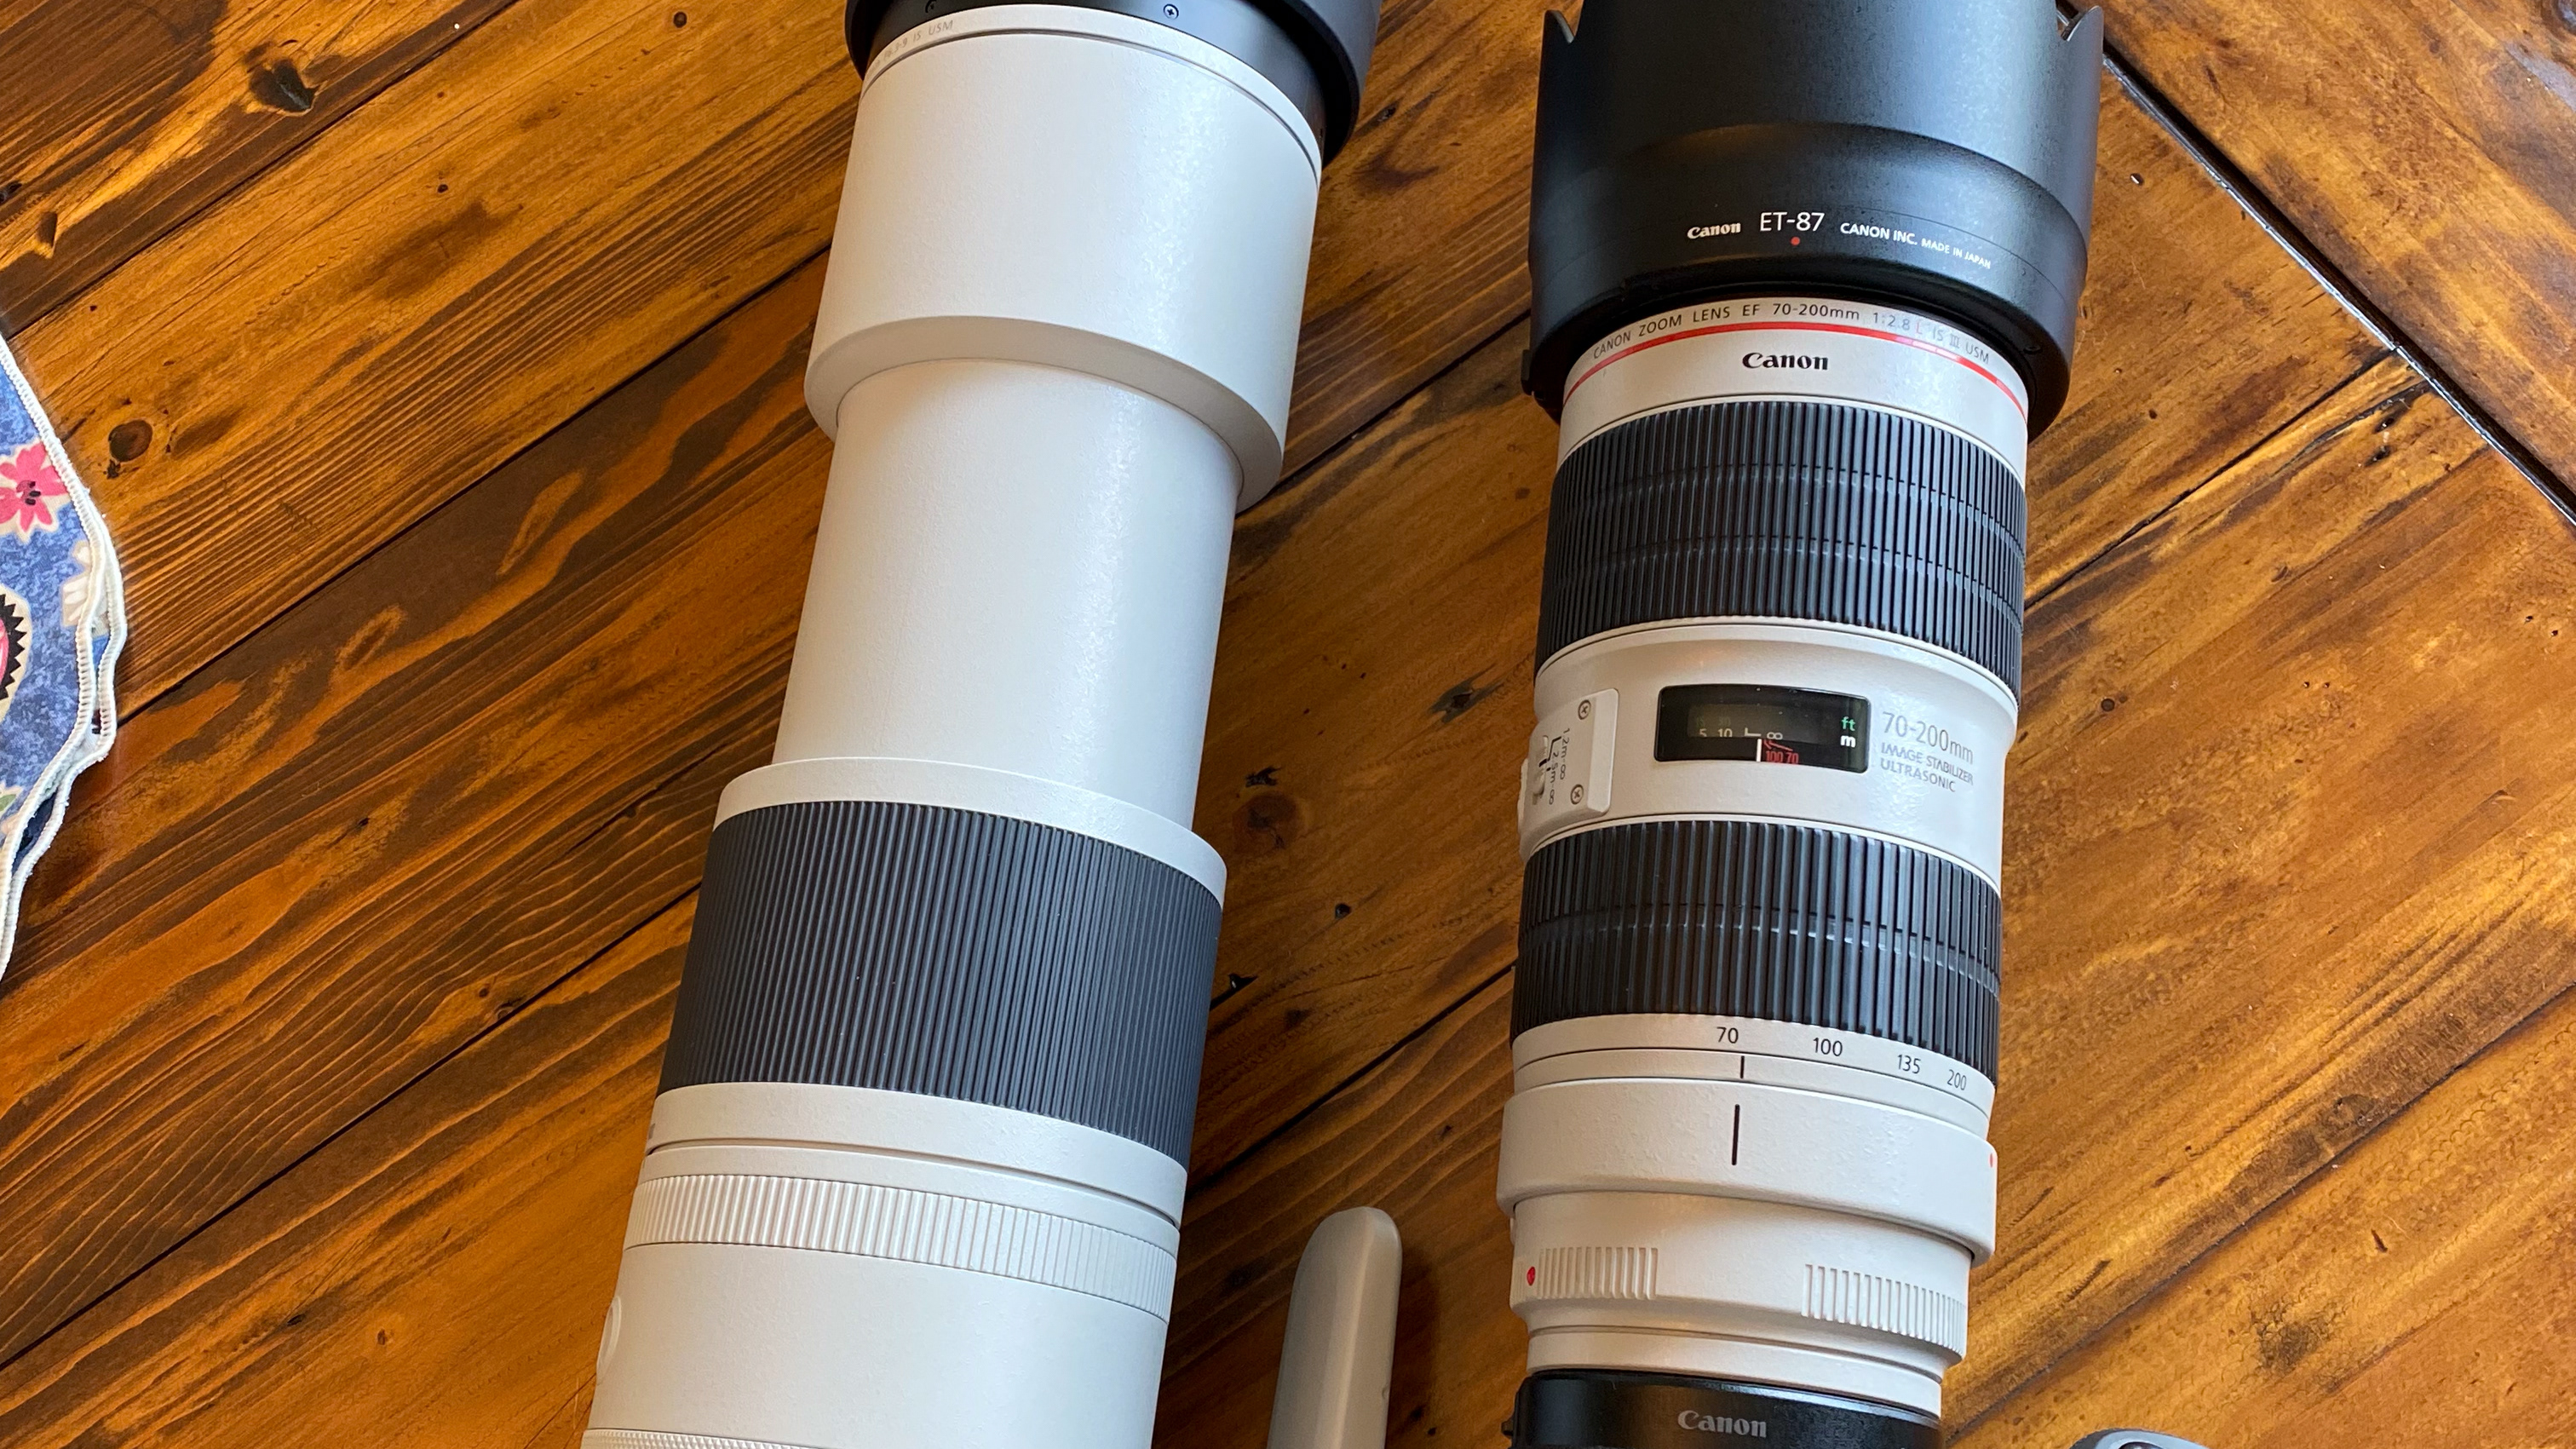
Next up was setting up the eye AF on back button focus. What I quickly learned is there are still times I want to take over focus control, and simply leave it to spot focus - maybe that's just me being used to the old DSLRs - but I found sometimes leaving it to the camera it could sometimes lock and track focus on something I didn't want to focus on. Unfortunately (or fortunately - depending how you look at it), there's a LOT of customization options that take time to set-up to my own style. I ended up setting the AF-ON button to traditional back button spot focus, and the * button to Eye-AF using the whole frame as the area it can use (the size of the area to look for "eyes" can be changed). I mostly used my Tamron 100-400 4.5-6.3 to test focusing on animals and birds. The Tamron has been okay for landscape and slow moving animals/stationary birds, but was always off with birds in flight...and so far, this seems to still be the case. The image quality as well is good but not great, and I typically only shoot at F8, as 6.3/7.1 is just too soft (compared to my Canon L lenses). Anyway, good enough to set-up the focusing initially and give me the reach to test it.
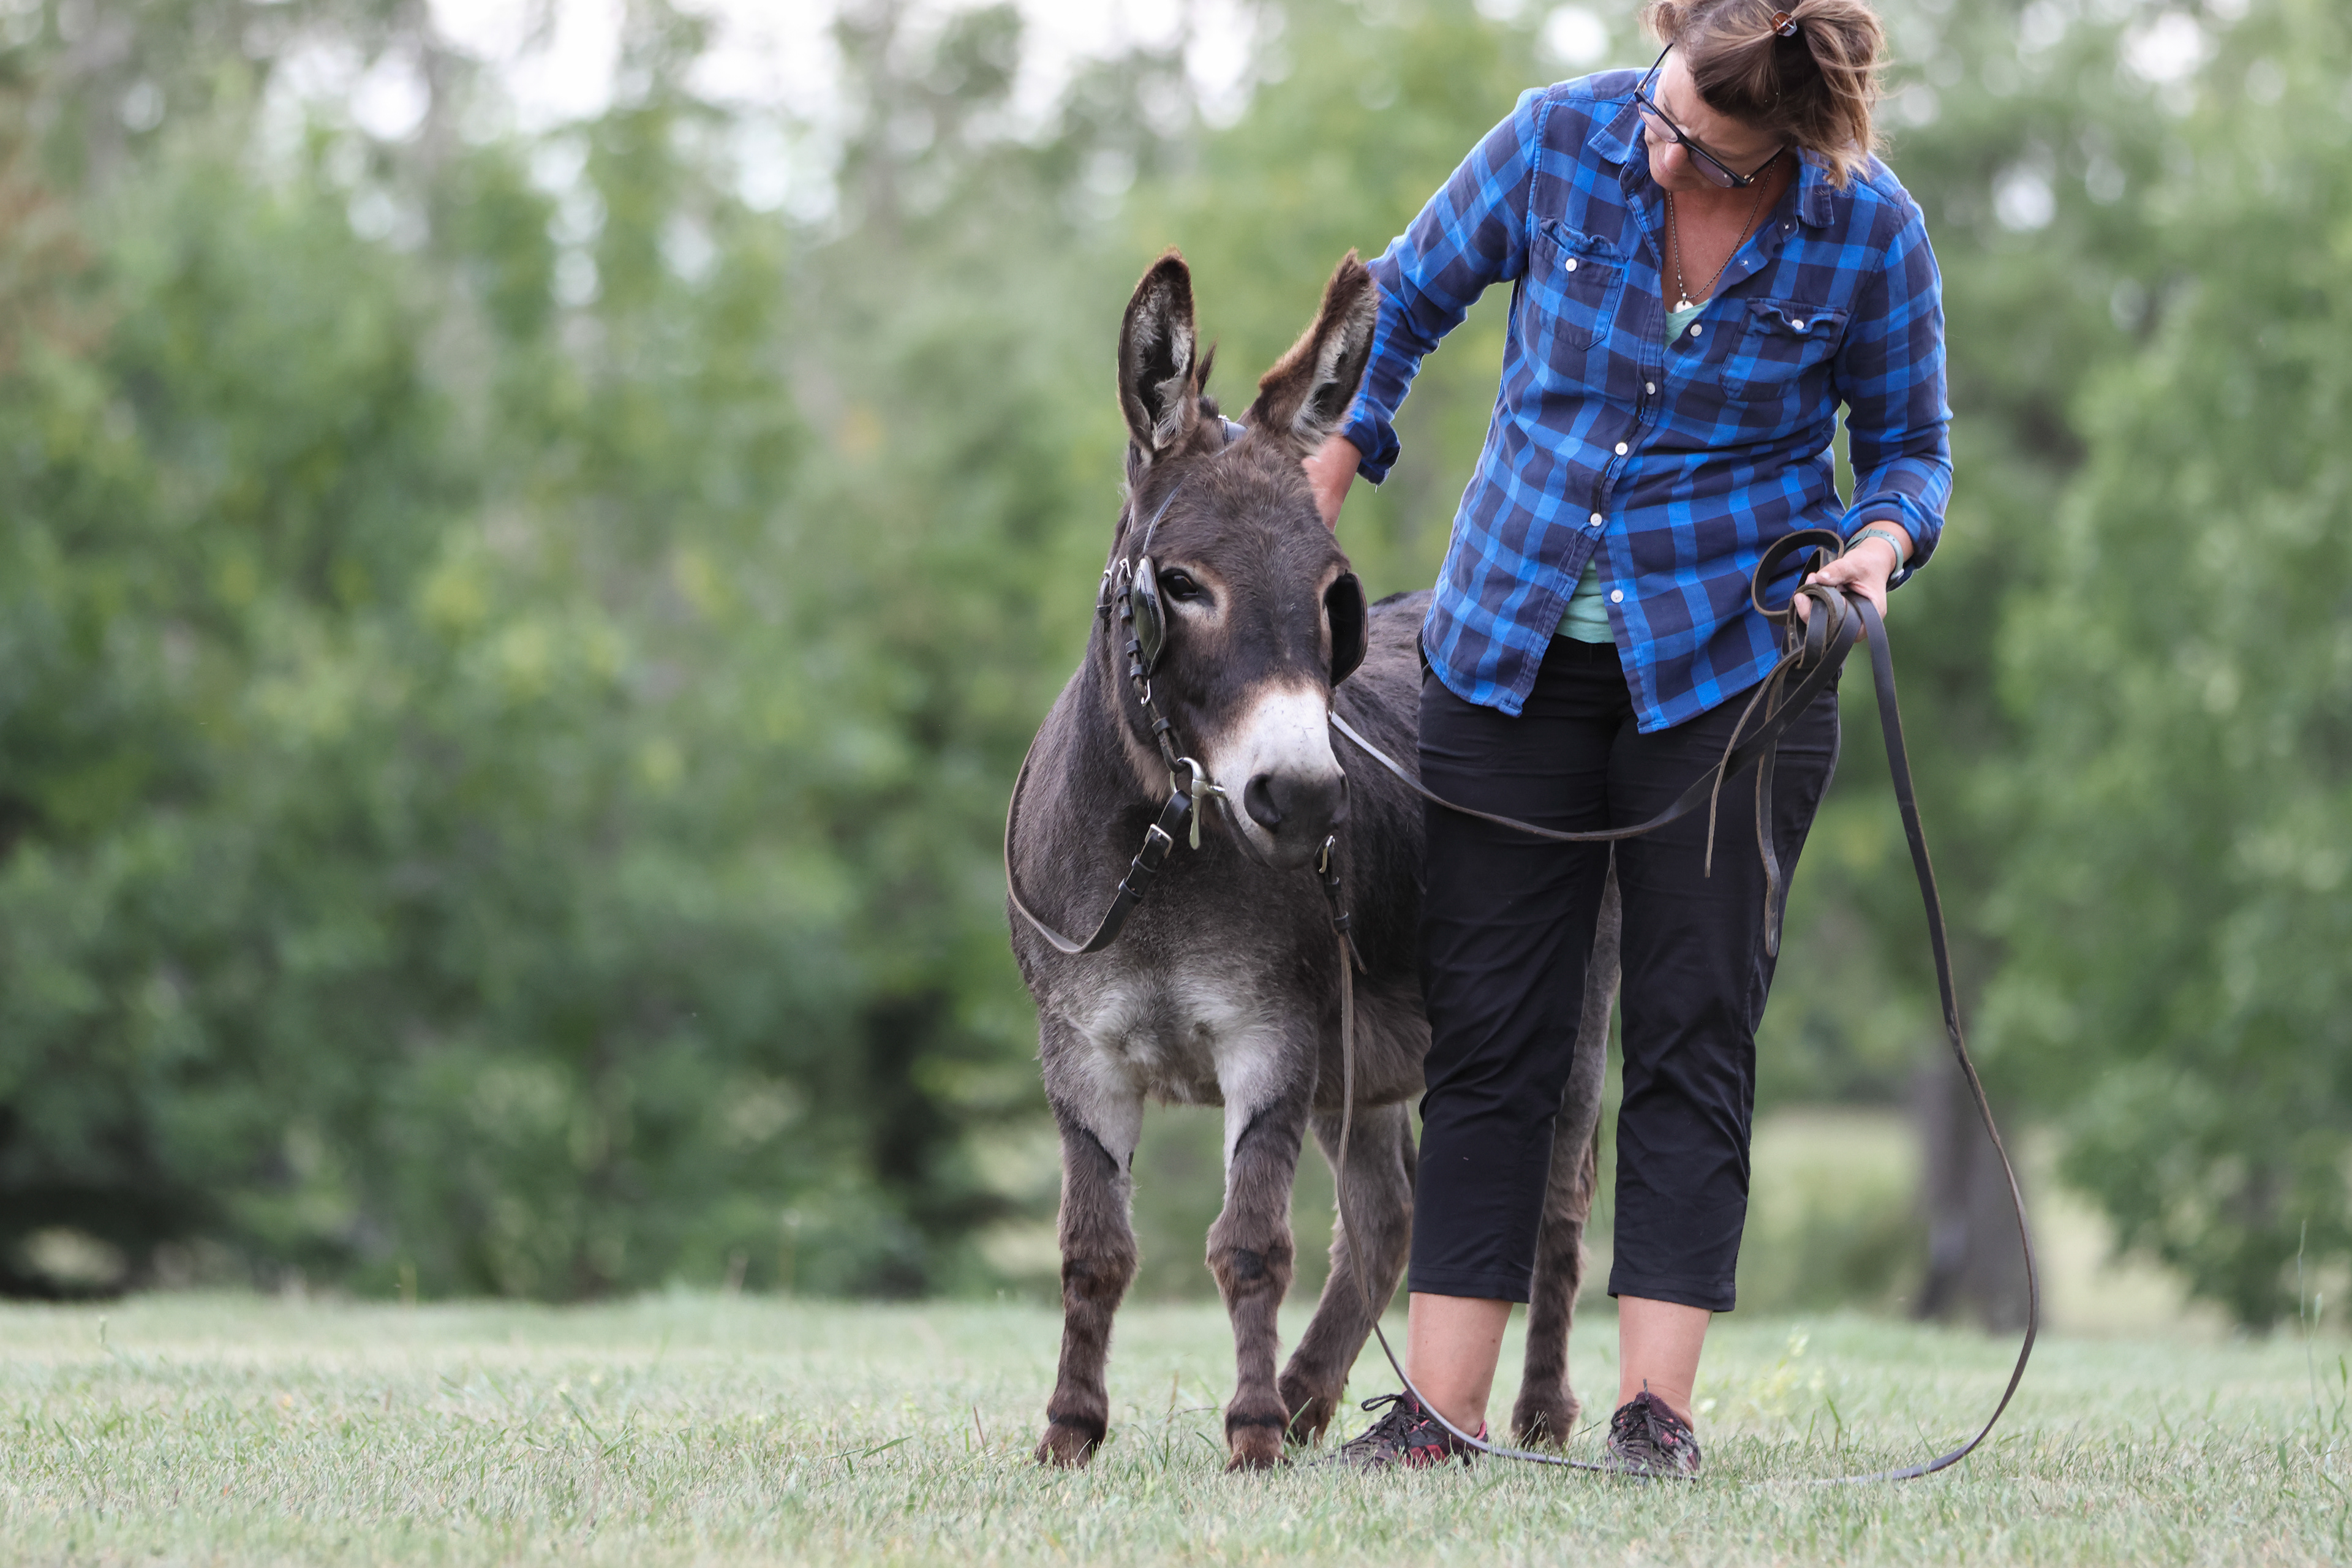

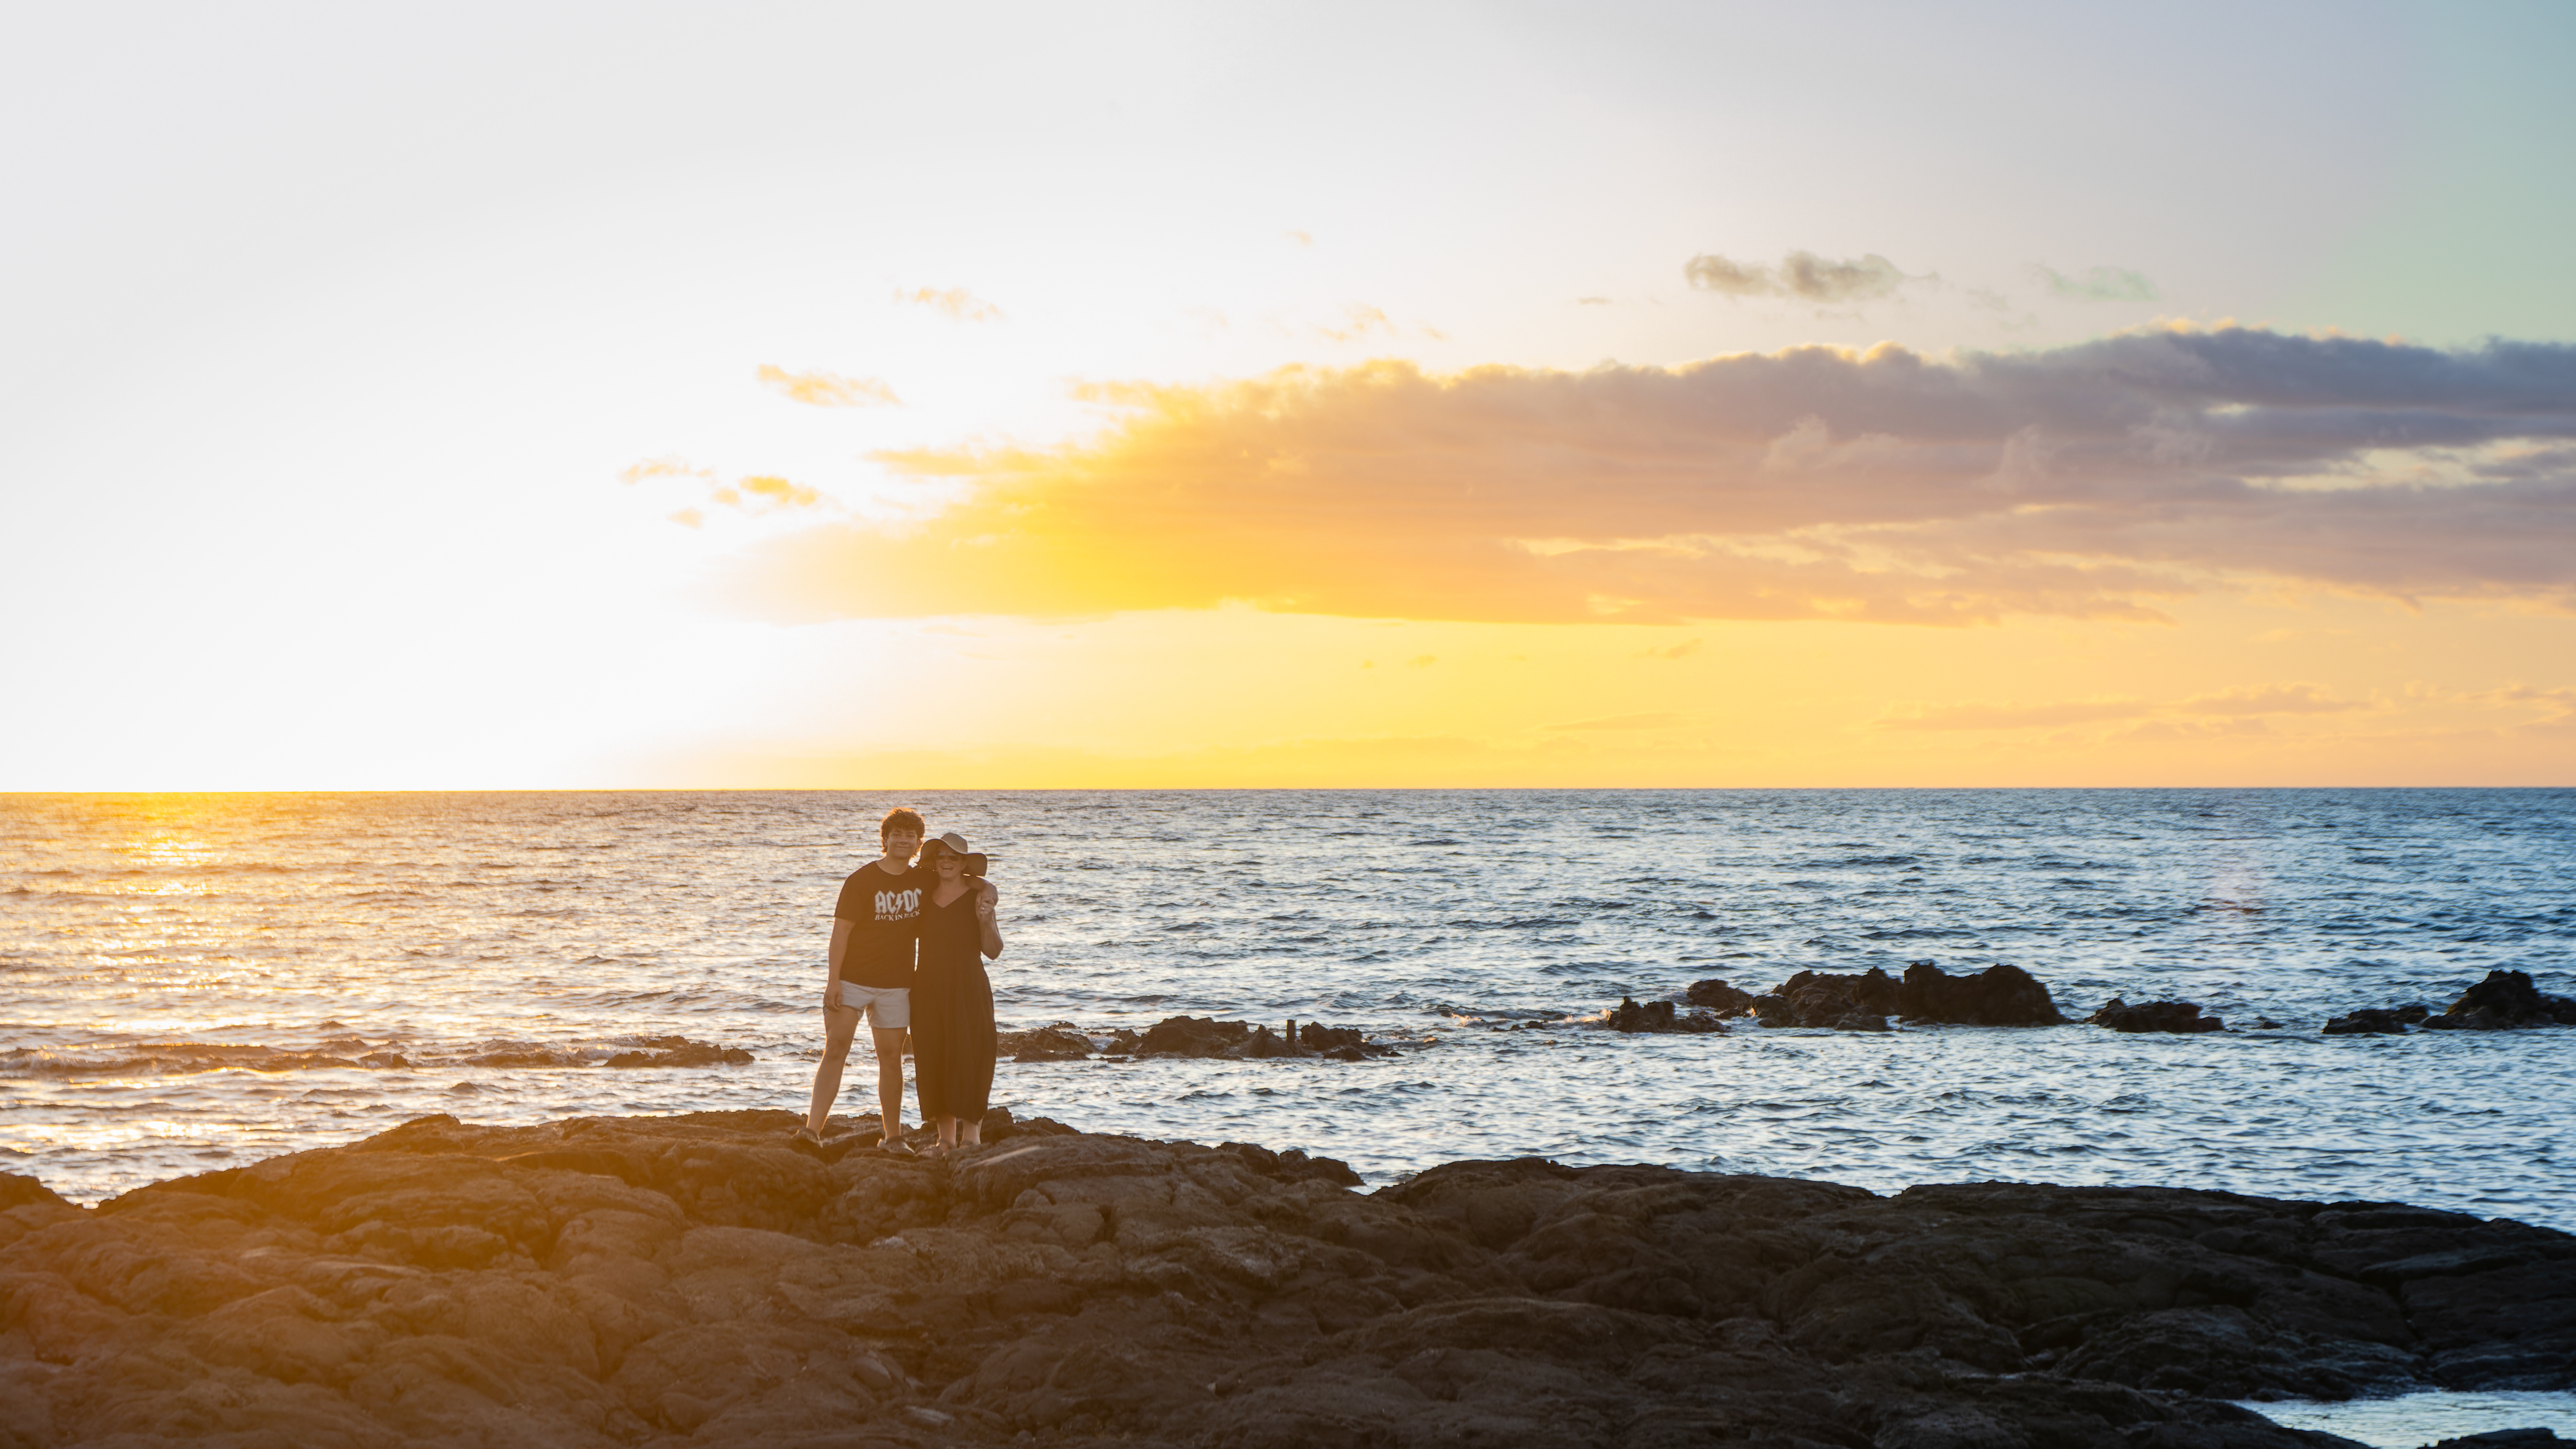
So, the eye detect works awesome on cats and people, not so great on my pigs (I just used good old fashioned spot focus in the pig shot above), and mostly good with the donkeys and horses. Also, really good on birds - if there's no branches in the way of the birds eye!
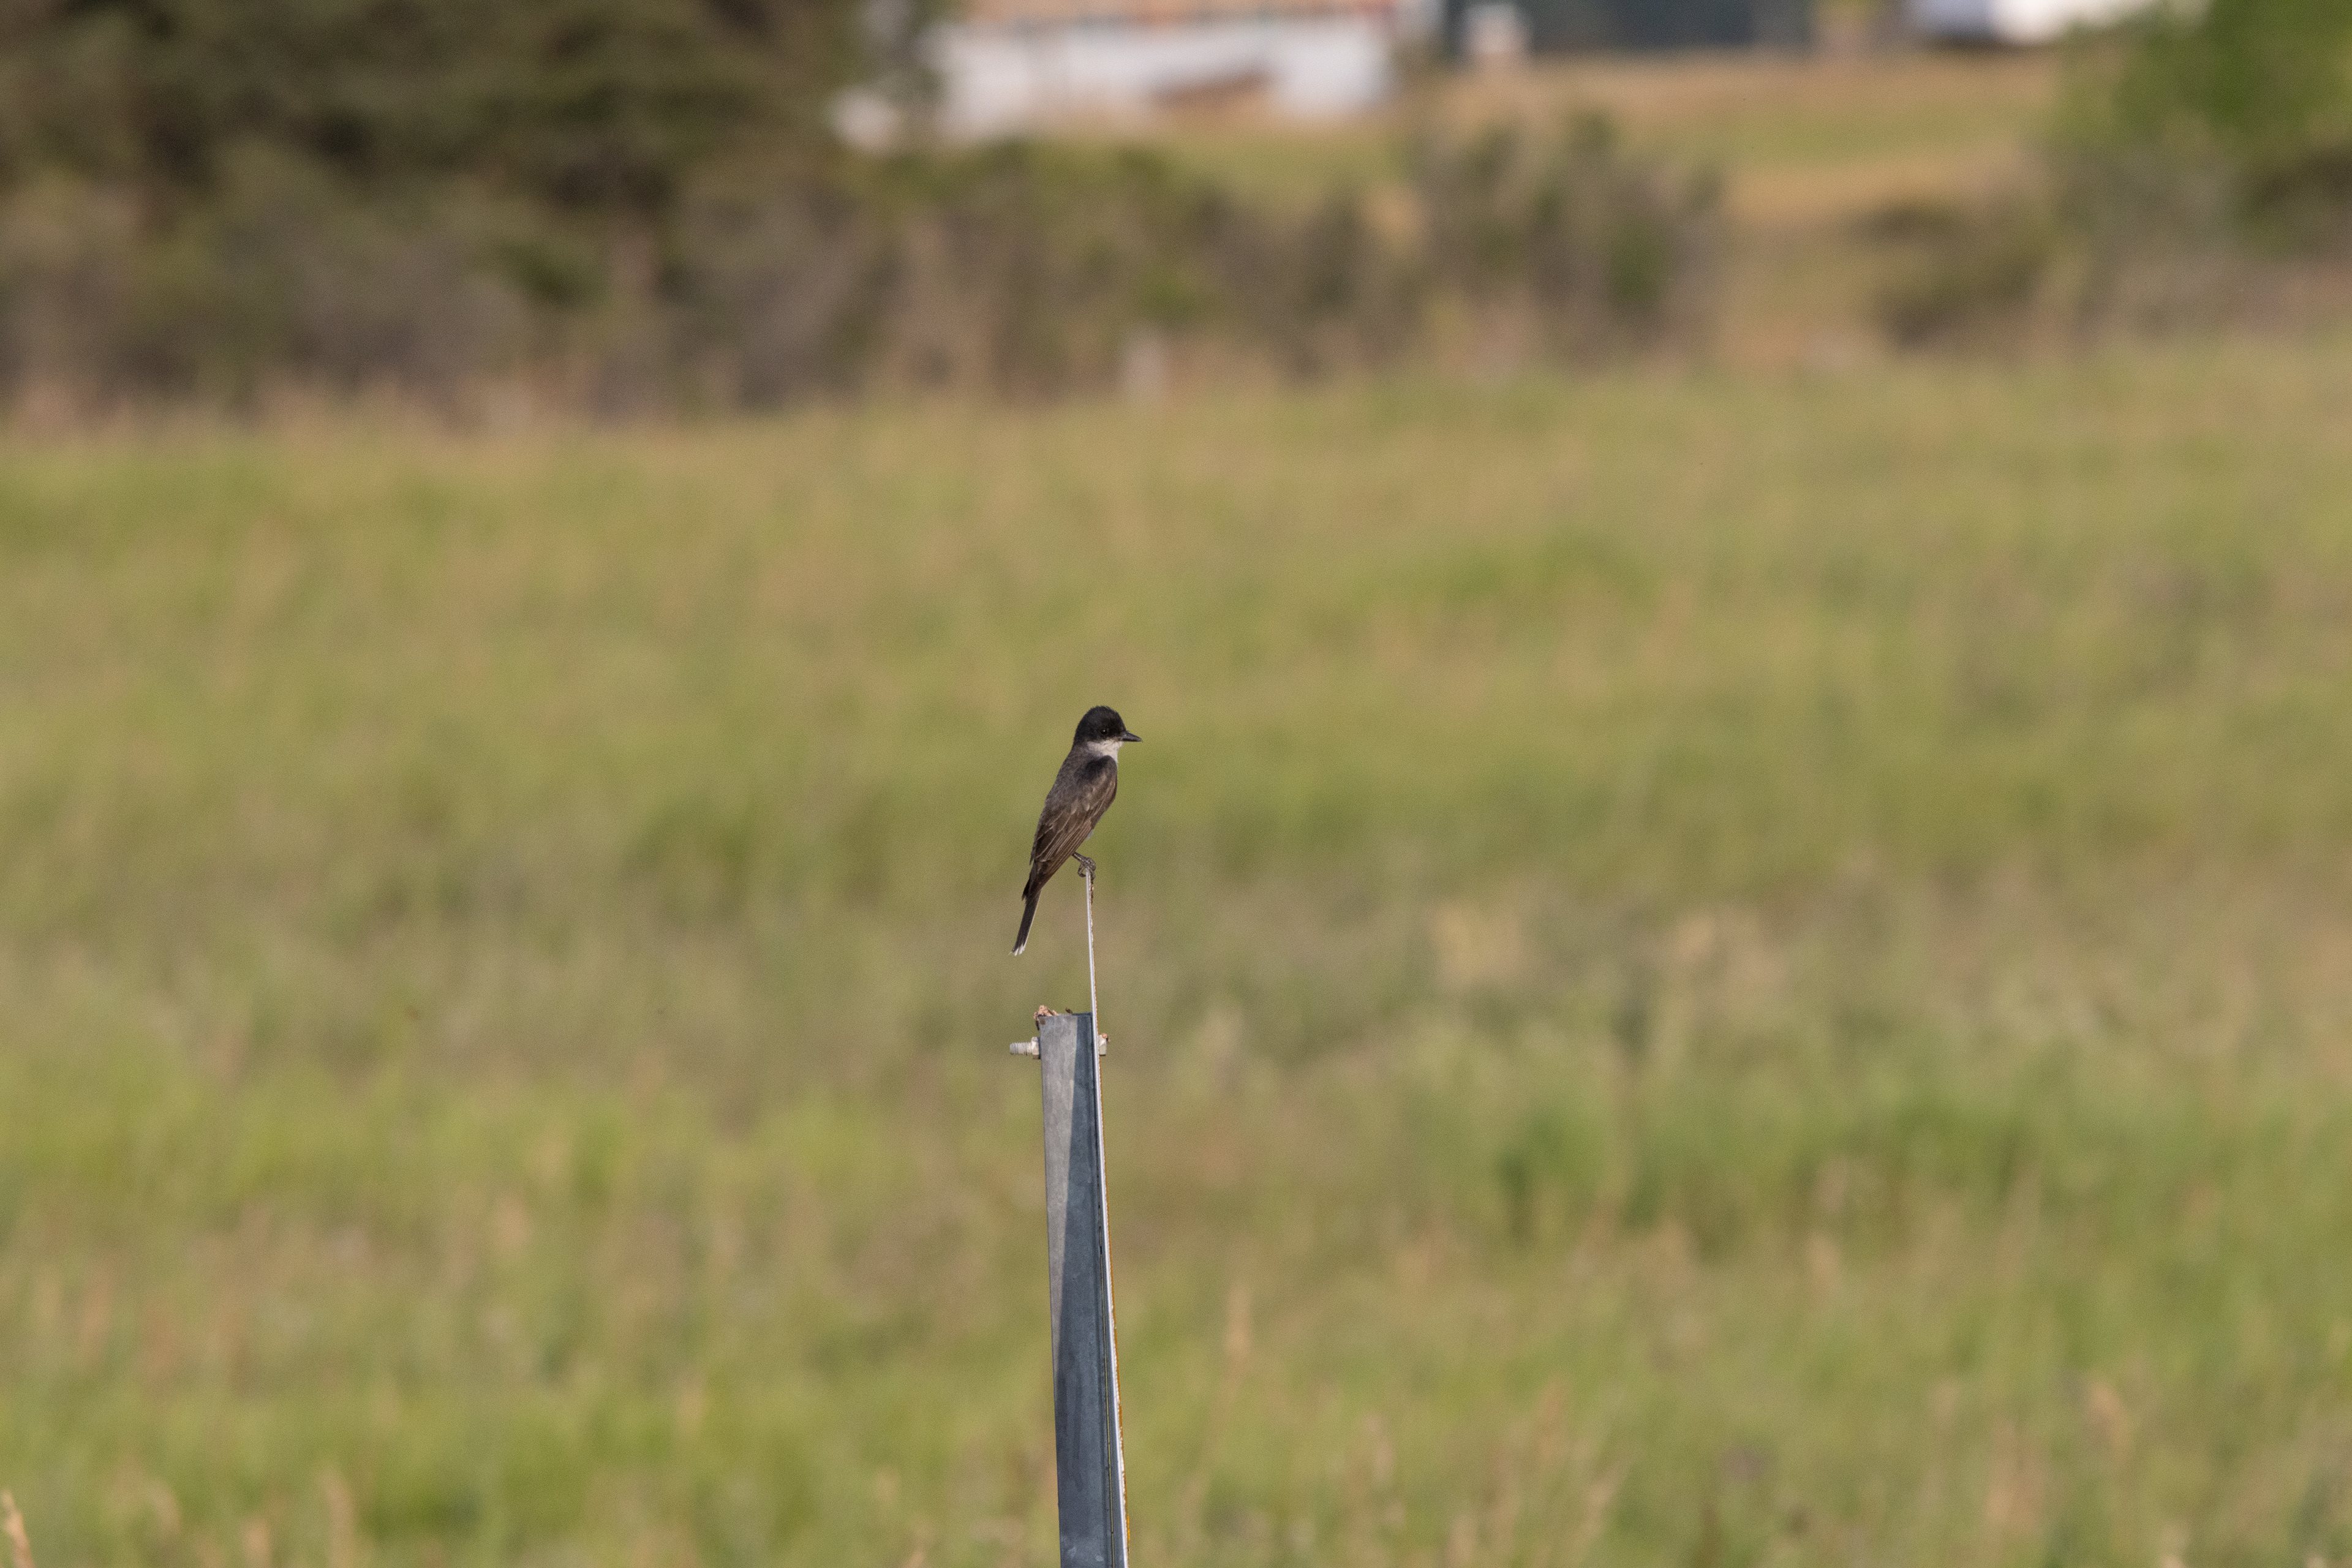


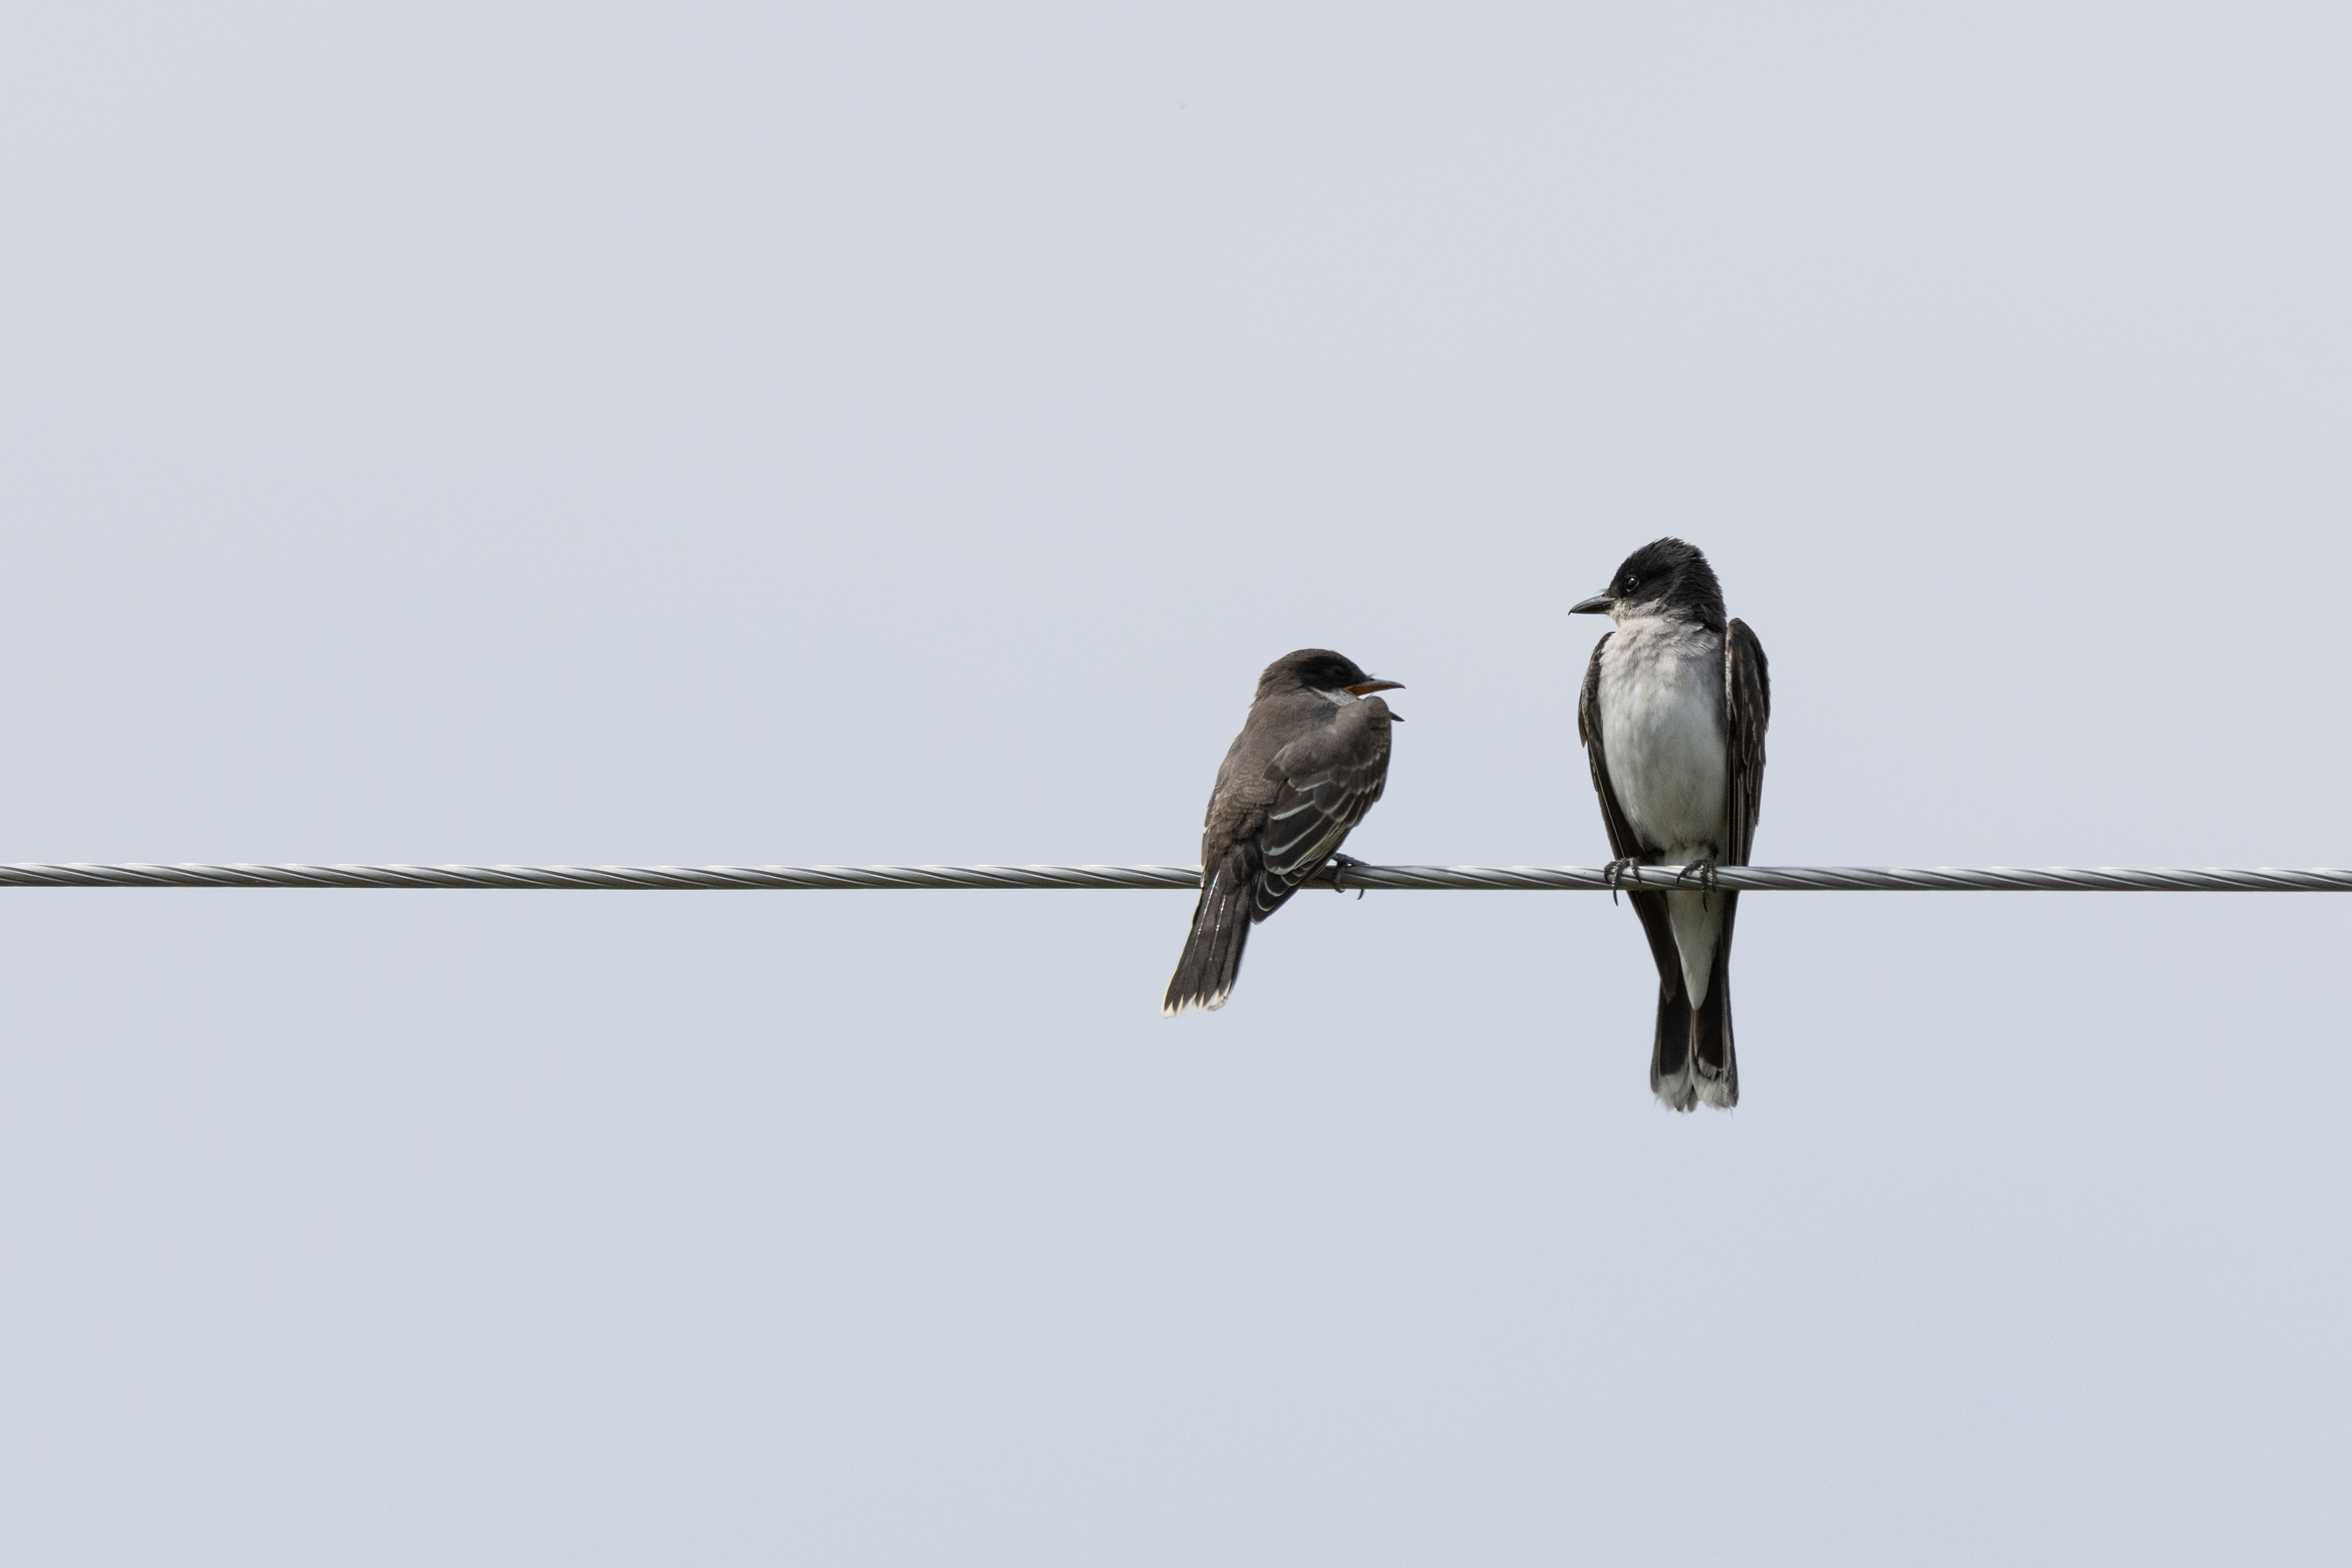
Any softness in the photos above I 100% believe is the Tamron lens, and not the fault of the AF (good value lens, especially for travel, but there are downsides...maybe I'll do a blog one day on this lens).
One thing I like about using the single point auto focus is the touch screen to move that focus point. I personally think the need for joysticks are useless now, as we're not dealing with 9, 45 or 65 AF points anymore - it's edge to edge and hundreds of AF points, so the joystick is too slow. I'm right eye dominant, so using the back screen to move AF points might not work as well if you are putting your left eye up to the viewfinder.
One last test was to see how well the in body stabilization (and auto level!) works. A quick hike in the Rockies (Kananaskis) that led to a small, but fairly dark waterfall was a great opportunity to see how long I could leave the shutter open with my Sigma 17-70. I really tried pushing it, and while maybe my expectations were too high I was still impressed (it will definitely be better with Canon's own RF stabilized lenses).
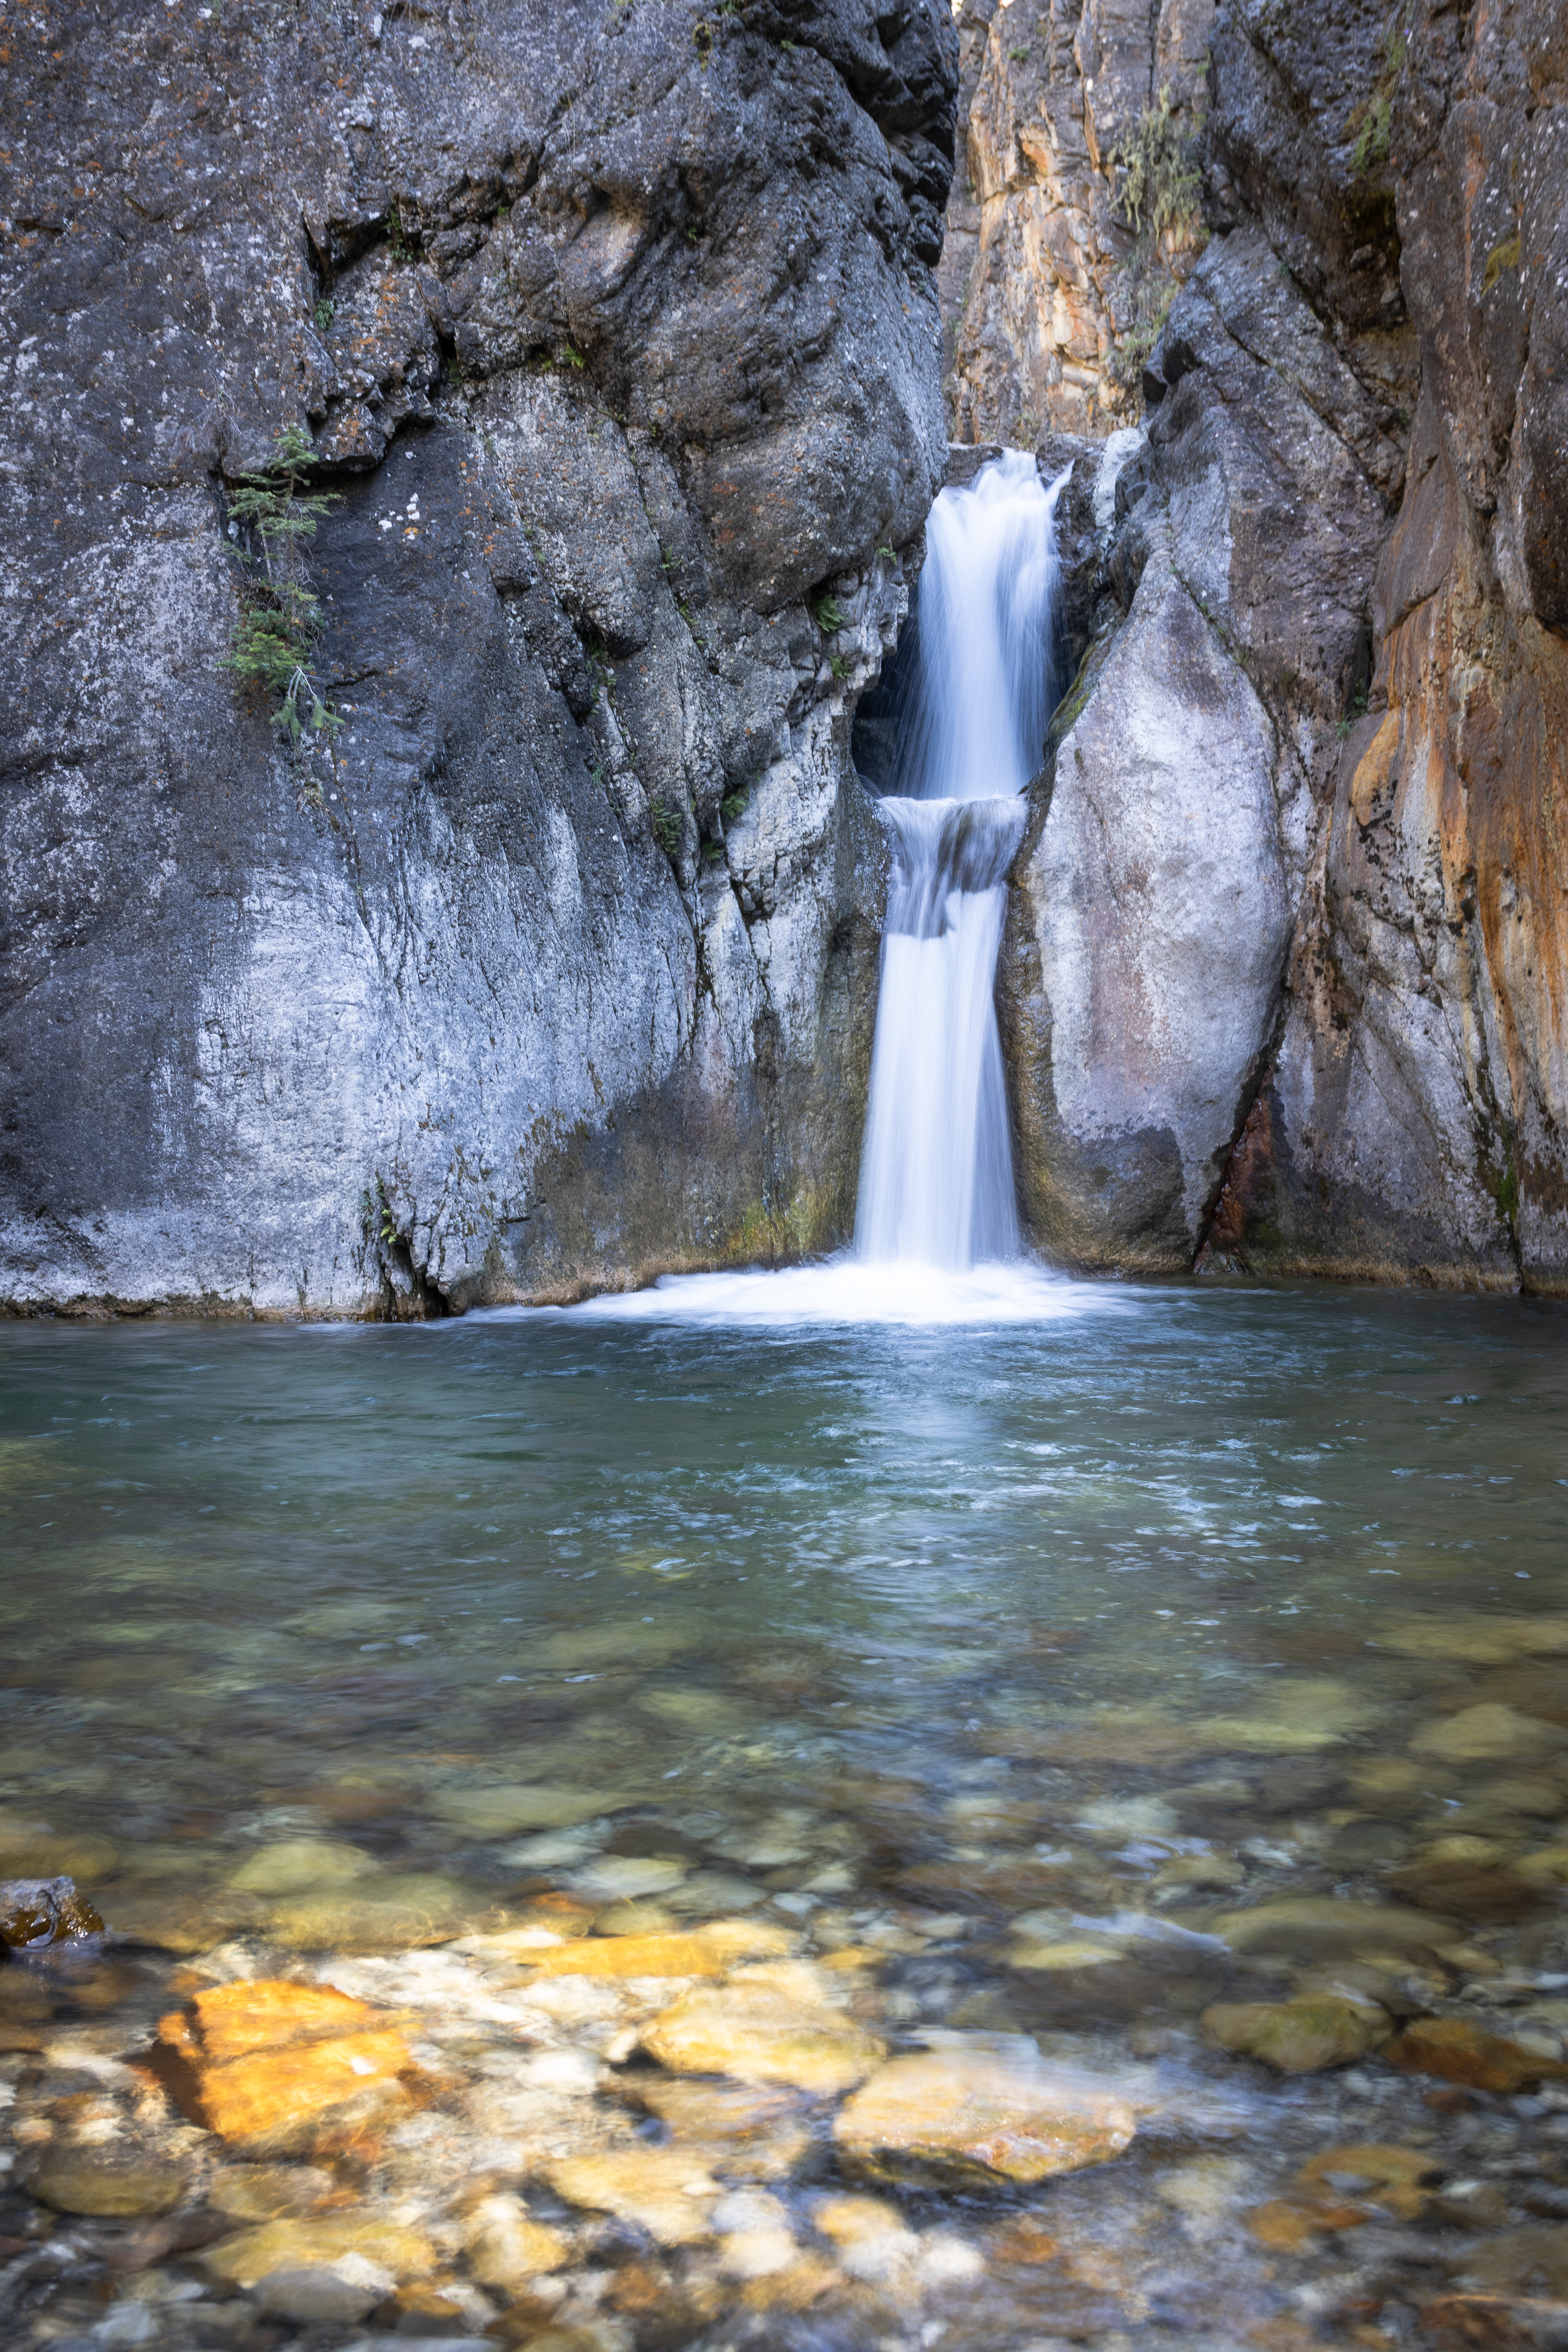
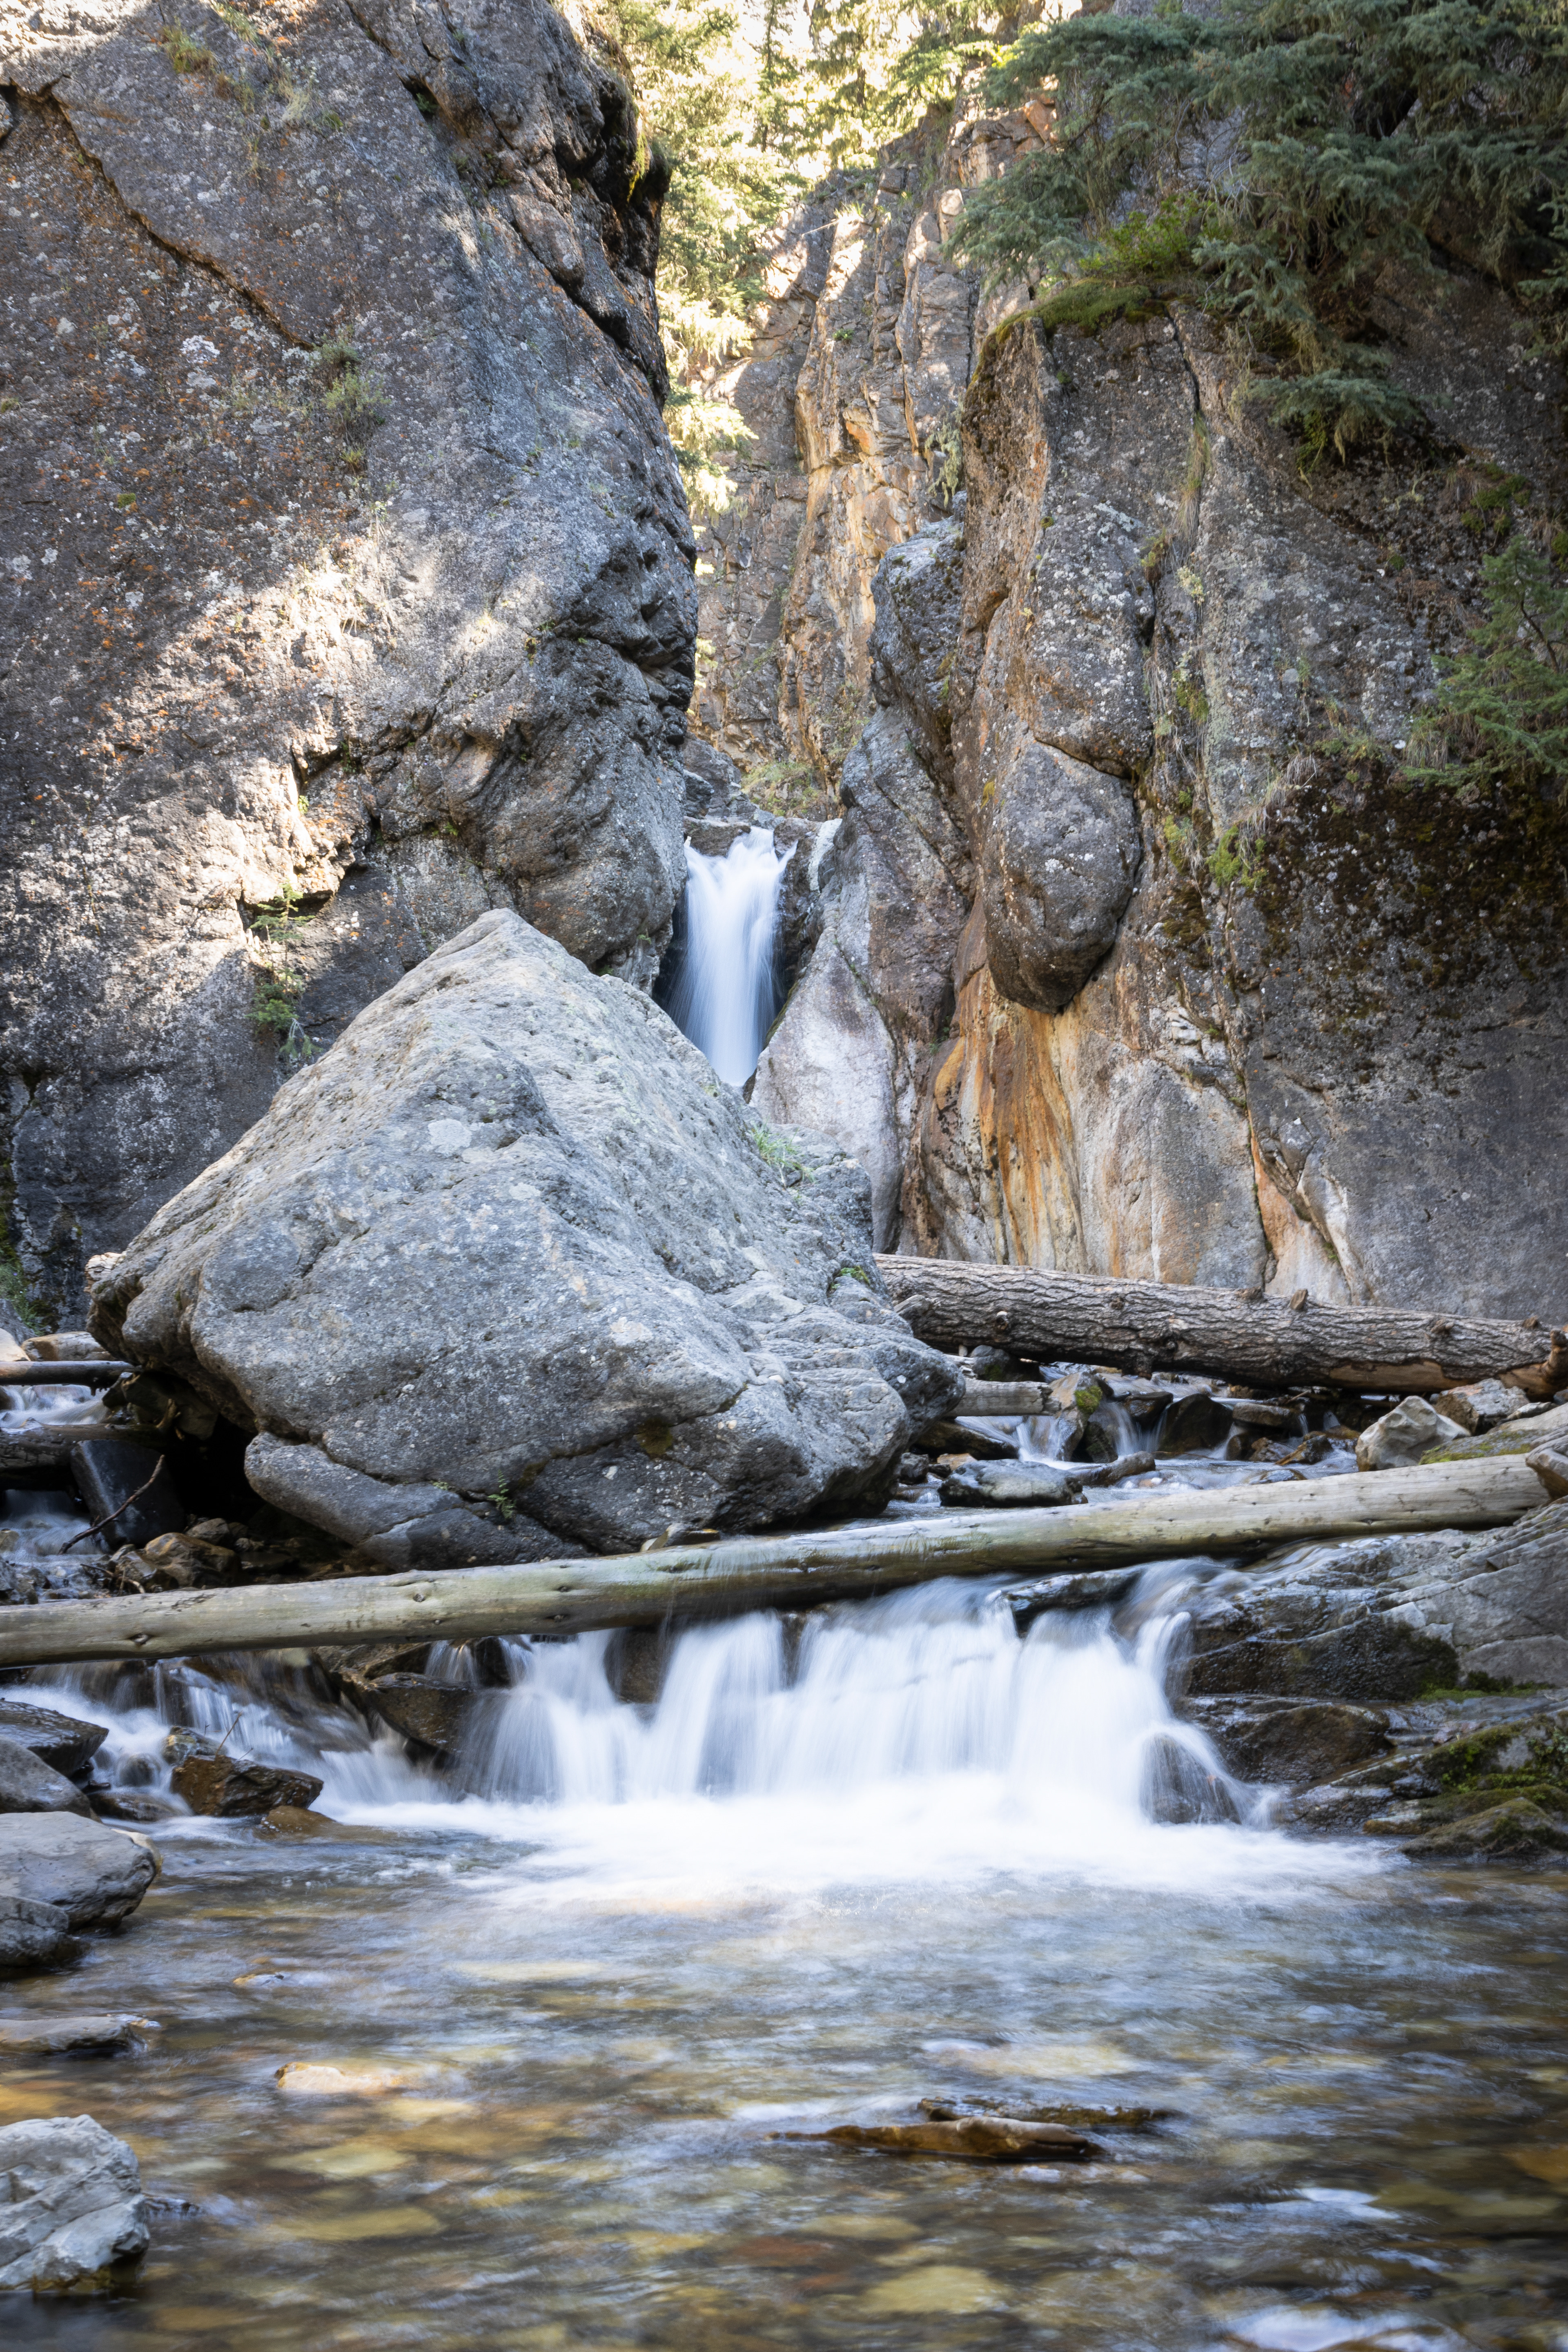
The Sigma 17-70 is a fairly sharp value lens, so the top waterfall photo at .3 seconds and F/8, and the second shot at .5 seconds at F/11 are showing fairly good sharpness (rocks are a great way to test that image quality). If you click on the image you can zoom in 100%. It's not perfect, and .5 second is probably a little too long, but when you forget your tripod, this will definitely be good enough for small prints or social media. They were both caught in burst shots of about 5-8 frames, and handheld (on not very flat ground!), and probably only half of them were this sharp. Regardless, it seems fairly good stabilization!
So far I'm impressed with the R7. It's a definite step up from my 80D, and mirrorless is at a point that it's a step up for anyone shooting DSLRs.